Braze Connector Setup Guide
In this article, you will learn how to set up the Braze connector and export an email from EmailShepherd to Braze.
Create a Braze REST API Key
Section titled “Create a Braze REST API Key”First, create a REST API key in Braze.
Log in to your Braze account and navigate to Settings > APIs and Identifiers > API Keys.
Click the Create API Key button.
In the form, enter a name for your API key, such as “EmailShepherd”.
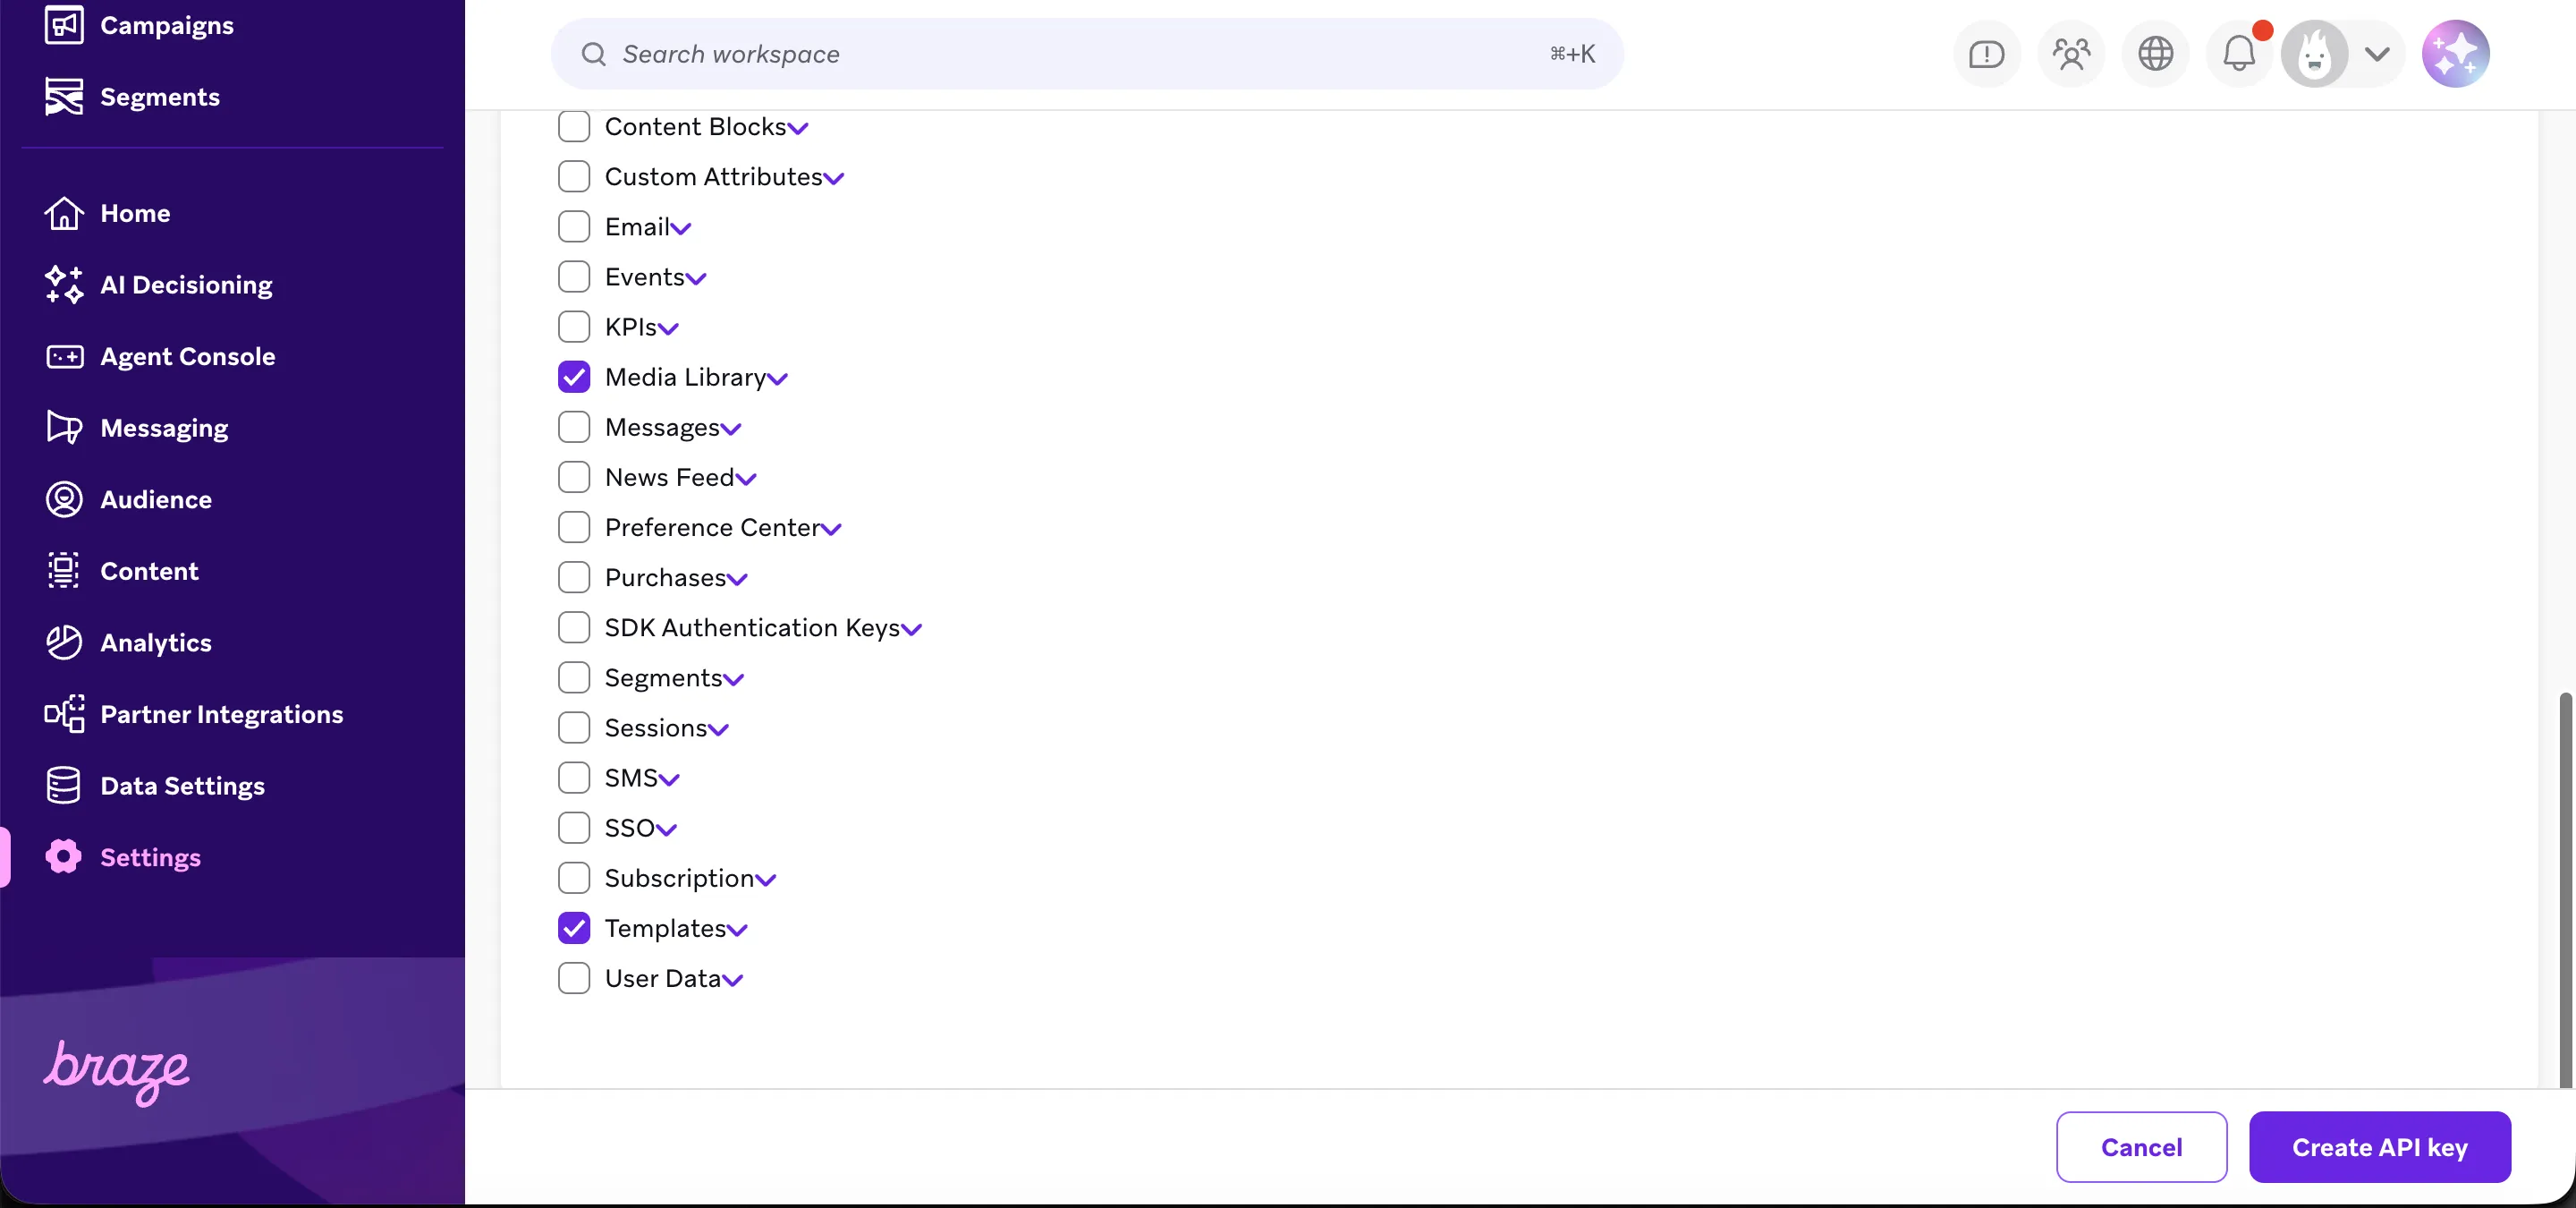
Next, select the permissions to grant the key.
EmailShepherd requires the Templates permissions so it can create and update email templates.
If you plan to use the media library upload option (covered in the next section), you also need to grant the Media Library permissions so EmailShepherd can upload your images to Braze.
For security best practices, we recommend only granting the permissions listed above to the API key used for the EmailShepherd connector.
Click Create API Key.
You will be shown your API key. Note it down, as you will need it when setting up the connector in EmailShepherd.
You will also need your REST endpoint, which depends on the Braze instance your account is hosted on. You can find your instance in the URL of your Braze dashboard, and look up the matching REST endpoint in Braze’s instance documentation.
Connector Setup in EmailShepherd
Section titled “Connector Setup in EmailShepherd”Now that you have your API Key and REST endpoint, you can set up the connector in EmailShepherd.
In EmailShepherd, navigate to the Connectors page and click Add Connector.
Give your connector a descriptive name and select Braze as the connector type.
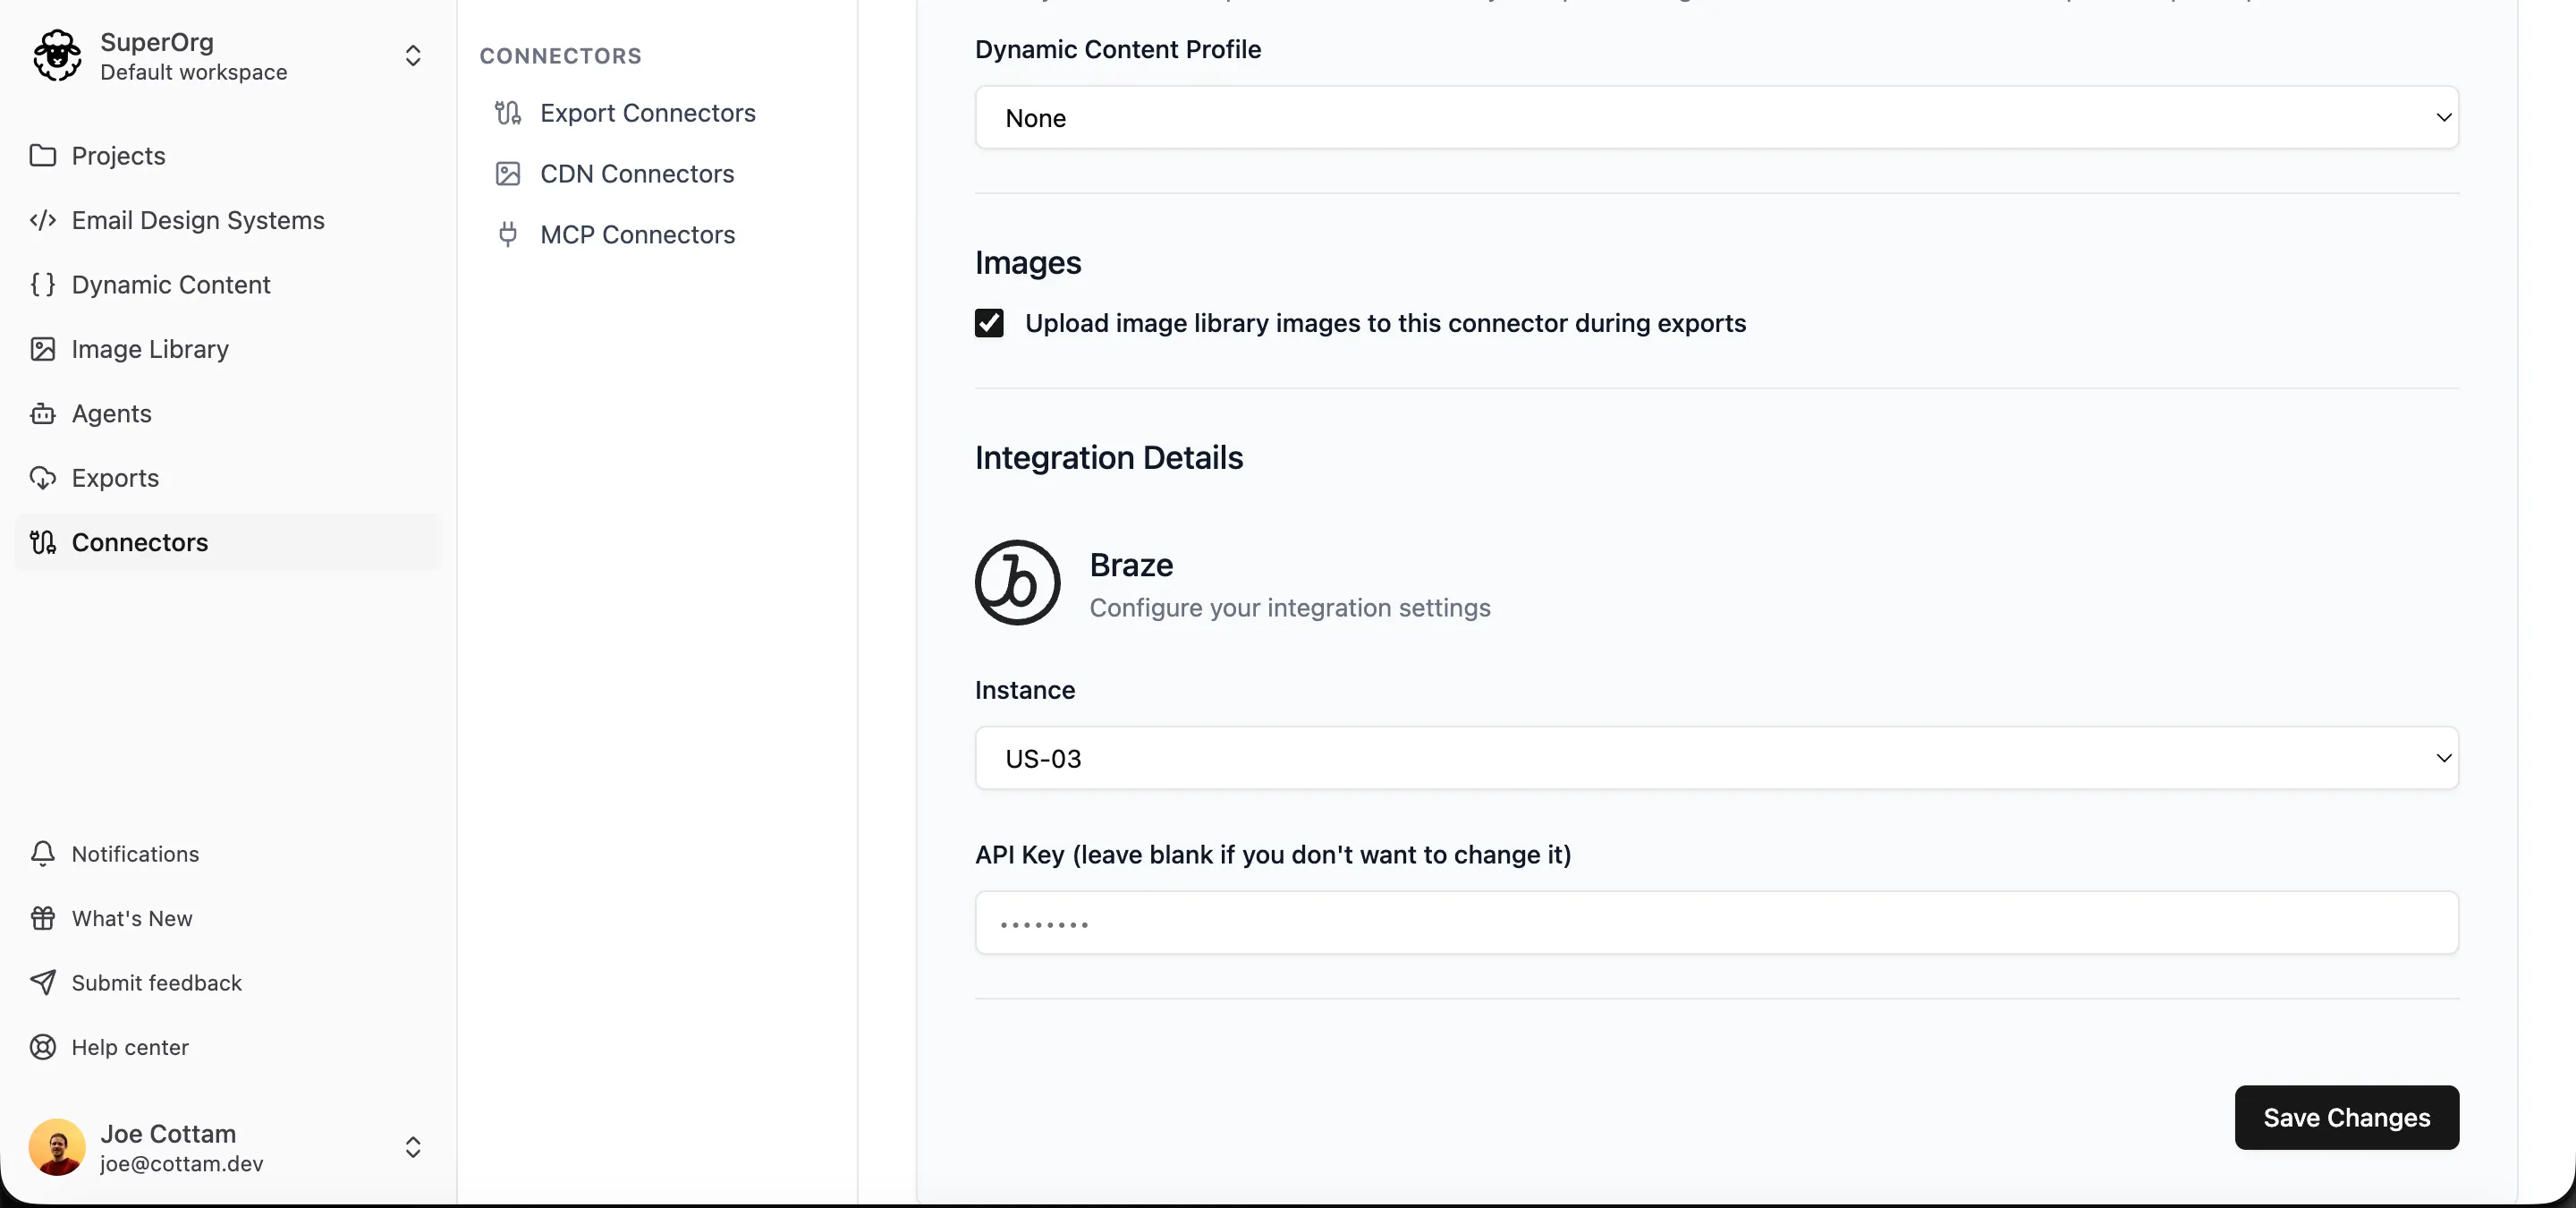
Select your Braze instance (REST endpoint).
Enter the API Key you noted earlier.
If you want EmailShepherd to host your images in Braze, enable the Upload image library images to this connector during exports option. When this is enabled, any images from your EmailShepherd image library are uploaded to your Braze media library on each export, and the exported template references the Braze-hosted copies.
Only images from your EmailShepherd image library are uploaded. Externally hosted images (those already pointing at a URL you manage) are left untouched. Image library images are re-uploaded on every export.
Once you’ve entered these details, click Save.
That’s it! You’re now ready to export an email to Braze.
Braze Templating Syntax
Section titled “Braze Templating Syntax”We recommend creating a Dynamic Content Profile to set up your personalization tags and conditionals for Braze.
Braze supports dynamic content and personalization using Liquid. Use this syntax when configuring your Dynamic Content Profile.
Exporting an Email to Braze
Section titled “Exporting an Email to Braze”-
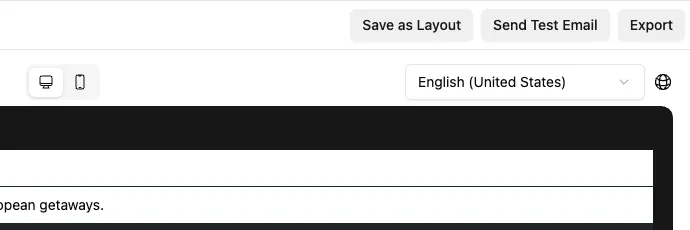
In the email editor, click on the Export button in the top-right corner. This will take you to the Export page.
-
In the Export Settings section:
- Set Export Type to Connector.
- Select the locale(s) you want to export.

-
In the Connector Export Options section:
- Select the Dynamic Content Profile you created earlier (if applicable).
- Choose the Braze connector you set up.
- Enter a Template Name for each locale you’re exporting.
-
Click Start Export.
Wait a few seconds for the export to complete.
Once the export is complete, click the Open in Braze link to navigate to the exported template in your Braze workspace.