

Brand profiles
This article shows you how to create and customize brand profiles, and how to use them in emails.
A brand profile is a set of changes applied on top of an Email Design System (EDS). It starts with all of the EDS’s components, then lets you hide components and fields, change field labels and default values, and override design tokens for a particular brand. You can use brand profiles for:
- Sub-brands: product lines or divisions that share a design but differ in the details.
- Clients: agencies can run several clients from the same set of components.
- Types of email: for example, a smaller set of components for transactional emails than for newsletters.
- AI email generation: giving AI agents a smaller, focused set of components and fields makes them faster and more accurate.
Changes you make in a brand profile only affect emails that use it. The EDS itself, and emails that use other brand profiles, aren’t changed.
Create a brand profile
Section titled “Create a brand profile”If your organization uses custom roles, you need the Create Brand Profiles permission.
- In the sidebar, click Email Design Systems, then click the EDS.
- Click the Brand Profiles tab.
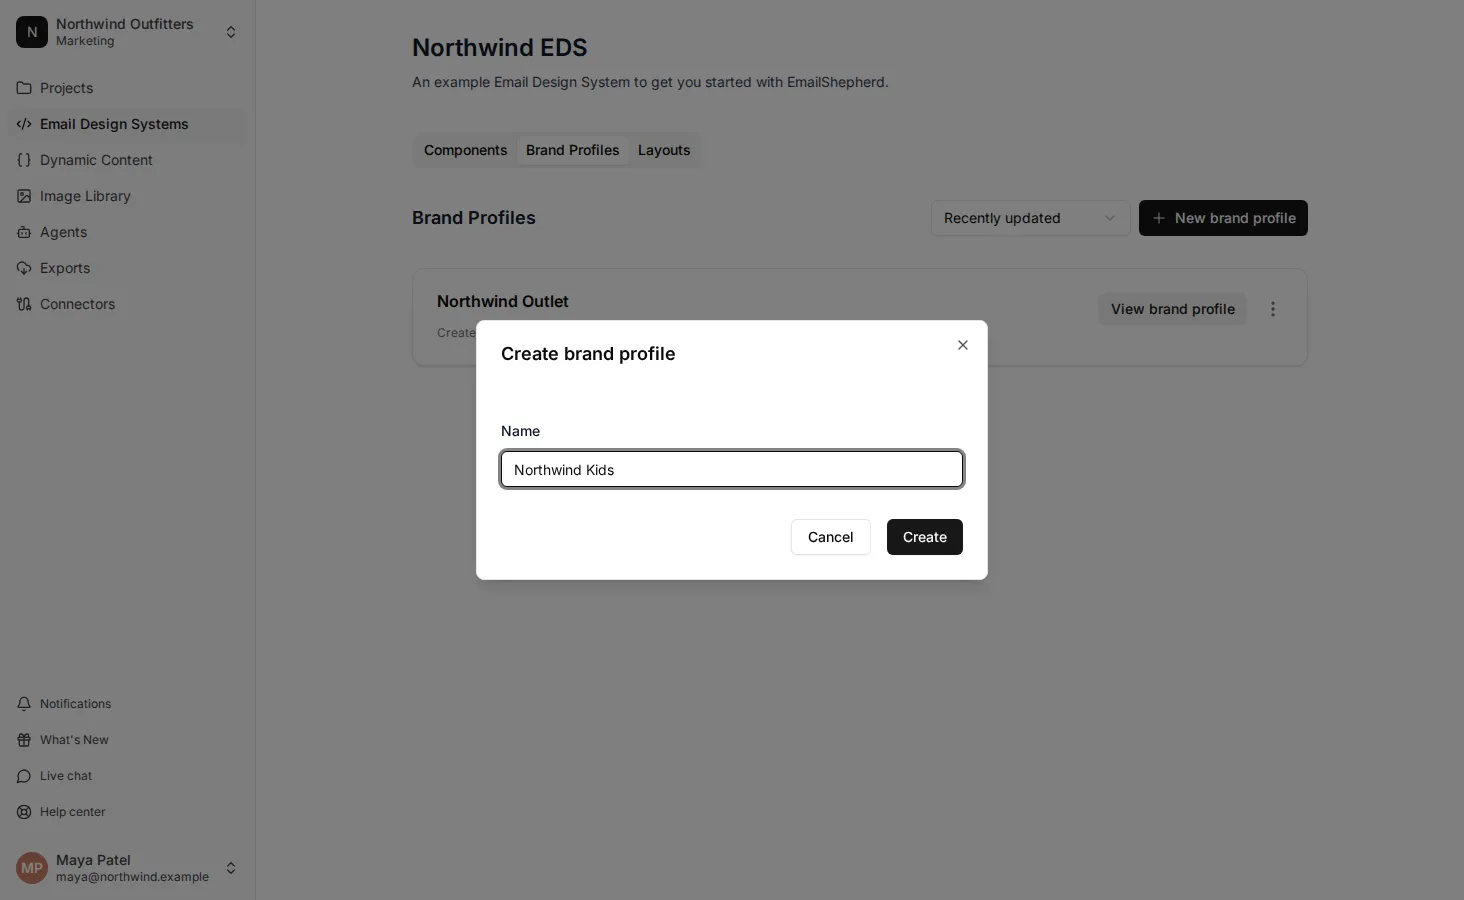
- Click New brand profile.
- In Name, enter a name for the brand profile.
- Click Create.
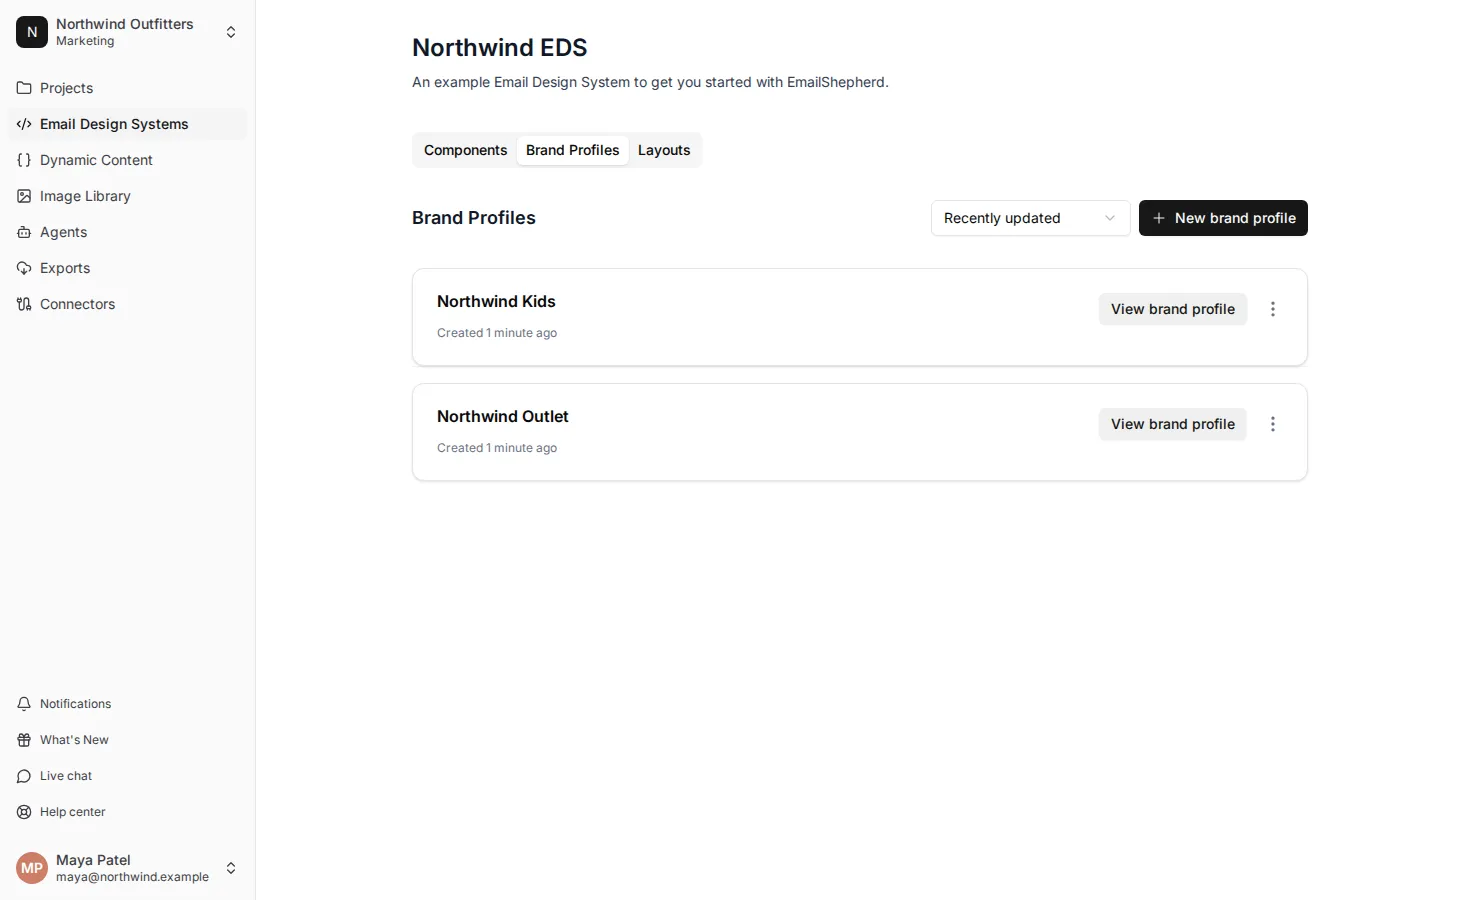
The brand profile opens, ready for you to customize. To open it later, go to the Brand Profiles tab and click View brand profile.
Customize a brand profile
Section titled “Customize a brand profile”If your organization uses custom roles, you need the Update Brand Profiles permission.
When you open a brand profile, the left side shows a preview of every component with your changes applied. The right side lists the components. Select a component to change its settings and fields, then click All components to return to the list.
Brand profile changes aren’t saved automatically. Click Save in the top bar when you’ve finished. Saved changes apply straight away to every email that uses the brand profile. If you click Exit with unsaved changes, you’ll be asked whether to leave without saving.
Hide a component
Section titled “Hide a component”Hide components that aren’t relevant to the brand. Hidden components can’t be added to emails that use the brand profile.
- Select the component from the list.
- Turn on Hide Component.
- Click Save.
You can’t hide the container component.
Change a field
Section titled “Change a field”- Select the component from the list. Its fields and their default values from the EDS are shown on the right.
- Turn on the options you need:
- Hide from editor: people can’t see or change the field in the email editor. The field keeps its default value.
- Hide from AI: EmailShepherd’s AI agents can’t see or change the field.
- Override field label: shows a different label for the field in the email editor. Enter the new label.
- Override field default value: gives the field a different starting value for this brand. Enter the new default value.
- Click Save.
Override design tokens
Section titled “Override design tokens”If your EDS uses design tokens, you can give the brand its own values, such as its own colors.
- In the top bar, click Design Tokens.
- Enter the tokens you want to change, as a JSON object. You only need to include the ones that are different for this brand. See Override design tokens for a brand.
- Click Save Design Tokens.
- Click Save.
Make bigger changes in the template
Section titled “Make bigger changes in the template”For changes these options can’t make, such as a different layout for one brand, check the brand profile in your component’s template. See Change a component for one brand profile.
Use a brand profile in an email
Section titled “Use a brand profile in an email”When someone creates an email, they choose the brand profile in Brand profile, after choosing the Email Design System. The email editor then uses the brand profile’s components, fields and default values. See How to create your first email.
To have a brand profile selected automatically for every new email in a project, set it as the project’s Default brand profile. See Set email defaults.
Require a brand profile
Section titled “Require a brand profile”Some Email Design Systems aren’t meant to be used without a brand profile. For example, an agency might build a single EDS for all of its clients, and use a brand profile for each client to set their colors and branding. An email built from the EDS without a brand profile wouldn’t have any client’s branding.
To stop this happening, turn on Require Brand Profile in the EDS’s settings. Every email that uses the EDS must then have a brand profile selected, and an email can’t be created without one. See Edit an Email Design System’s settings.
Rename a brand profile
Section titled “Rename a brand profile”If your organization uses custom roles, you need the Update Brand Profiles permission.
- Open the brand profile.
- In Brand profile name, enter the new name.
- Click Save.
Delete a brand profile
Section titled “Delete a brand profile”If your organization uses custom roles, you need the Delete Brand Profiles permission.
- On the Brand Profiles tab, click ⋮ > Delete on the brand profile.
- Click Delete to confirm.
If a project used the brand profile as its default, the project no longer has a default brand profile.
Shared brand profiles
Section titled “Shared brand profiles”When an EDS is shared across workspaces, the brand profiles created in the workspace that owns it are shared too. Other workspaces can use them but not change them. They can also create their own brand profiles for the EDS, which only their workspace can see.