
Personalization tags
A personalization tag is a named placeholder for recipient data, such as a first name. You define the tag once, then insert it wherever you need it. On export, EmailShepherd substitutes the tag for the ESP-specific code you configured.
Creating a personalization tag
Section titled “Creating a personalization tag”To create a new personalization tag, navigate to Dynamic Content > Personalization Tags > Add personalization tag.
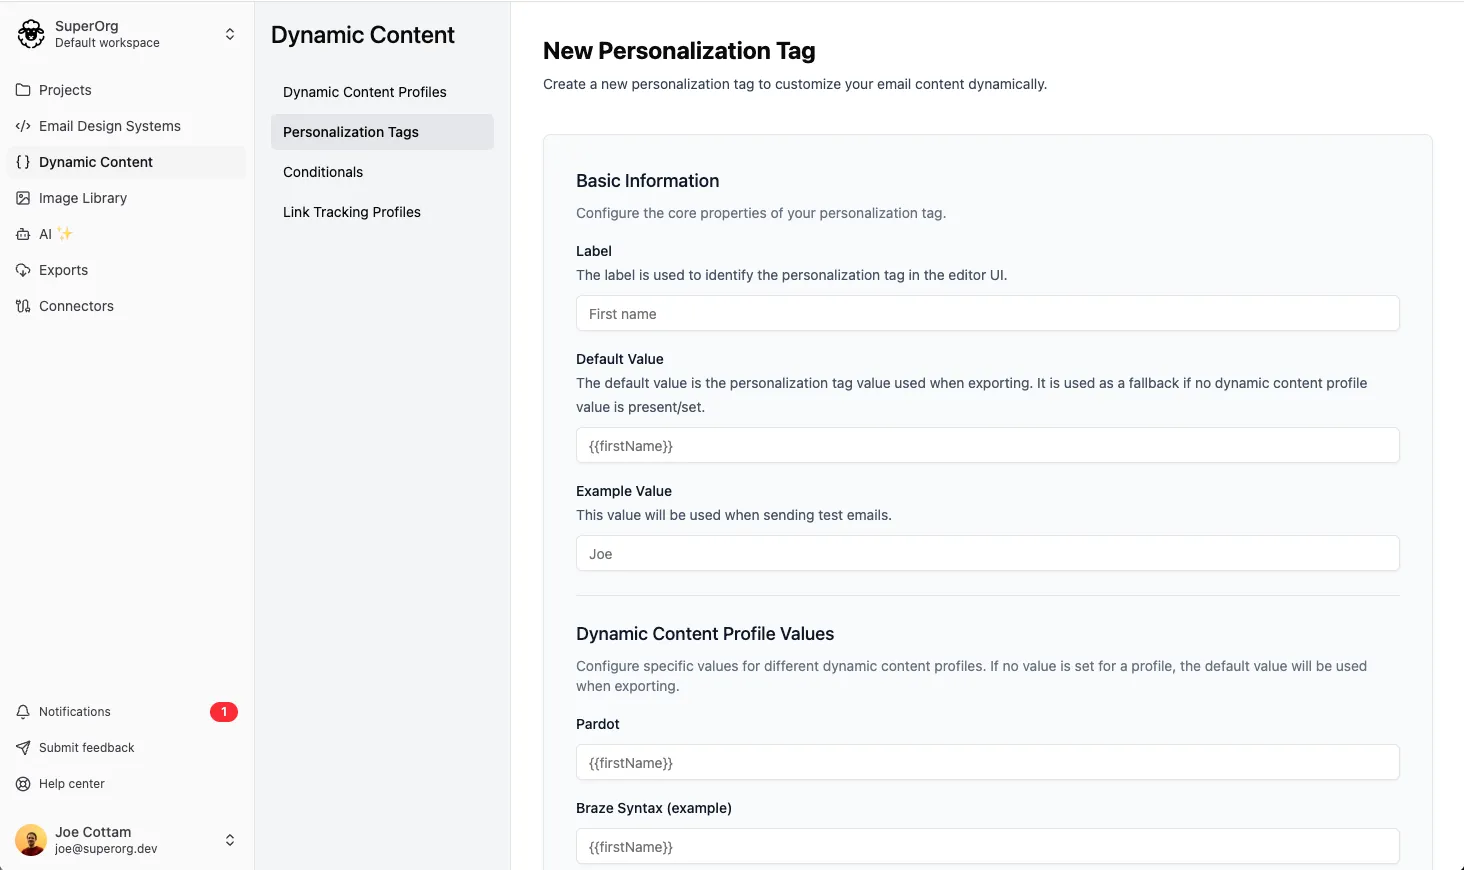
First, choose a label for your personalization tag. This is the label that will appear in the email builder UI, e.g. ‘First name’.
Next, enter the default value for the personalization tag. A personalization tag’s value is what it will be substituted to when the email is exported i.e. the ESP-specific code e.g. {{first_name}}.
The default value only applies when no dynamic content profile is selected, or when no value has been provided for the selected dynamic content profile.
Next enter an example value for the personalization tag. This is what it will be substituted to in test emails, e.g. ‘John’.
You will then need to enter values for each of the dynamic content profiles you have. For example, if you have a dynamic content profile for Klaviyo and another one for Mailchimp, you may set these values to {{first_name}} and *|FNAME|* respectively.
Using a personalization tag in an email
Section titled “Using a personalization tag in an email”Personalization tags can be used in most fields in the email builder. Click the {} icon in the field you want to use the personalization tag in, and select the personalization tag you want to use.
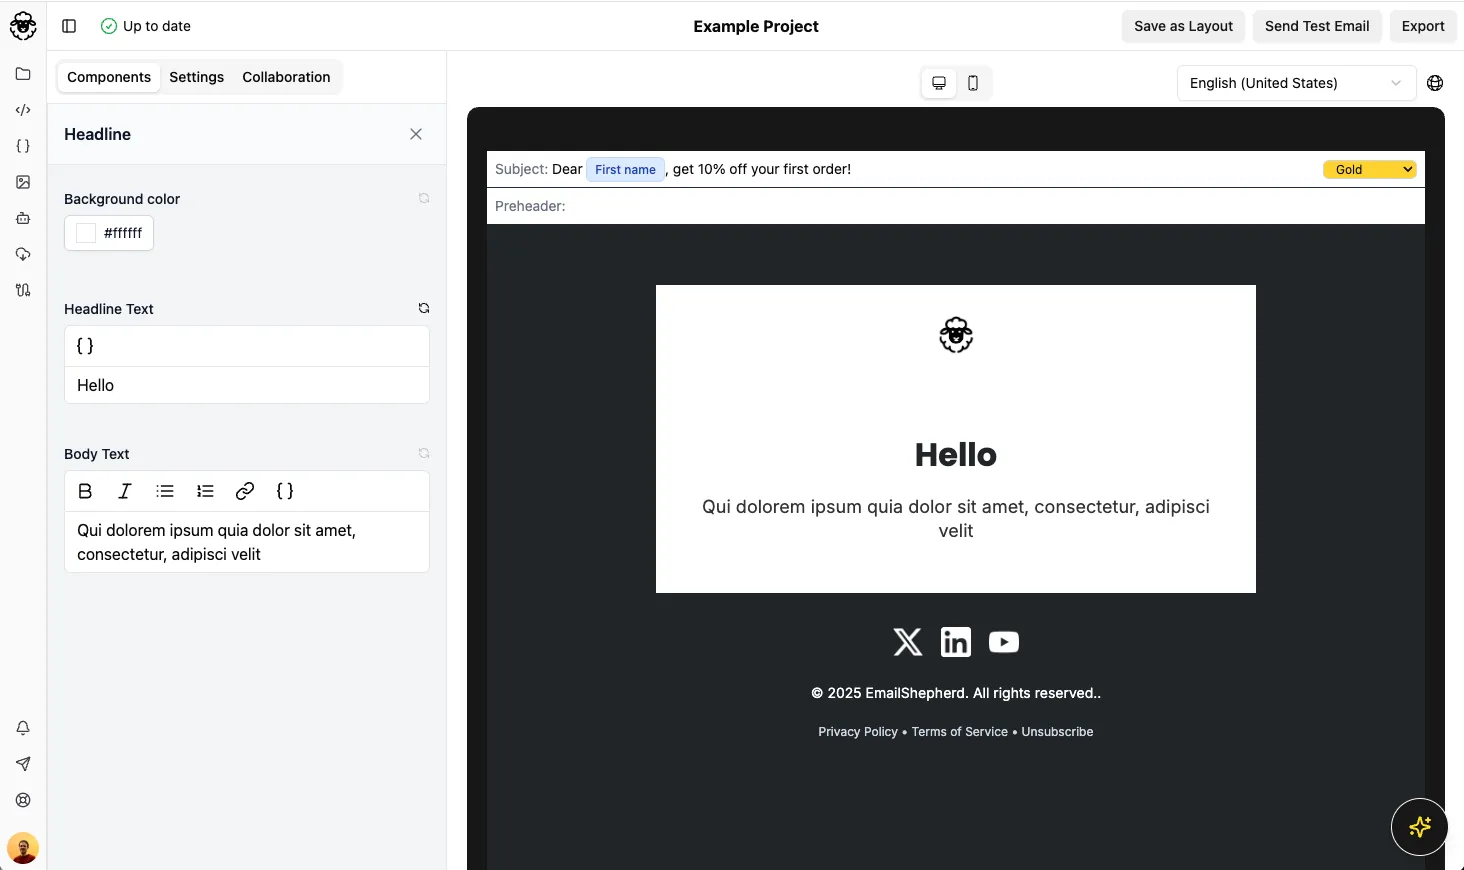
Your personalization tag will be highlighted in both the field and the preview.
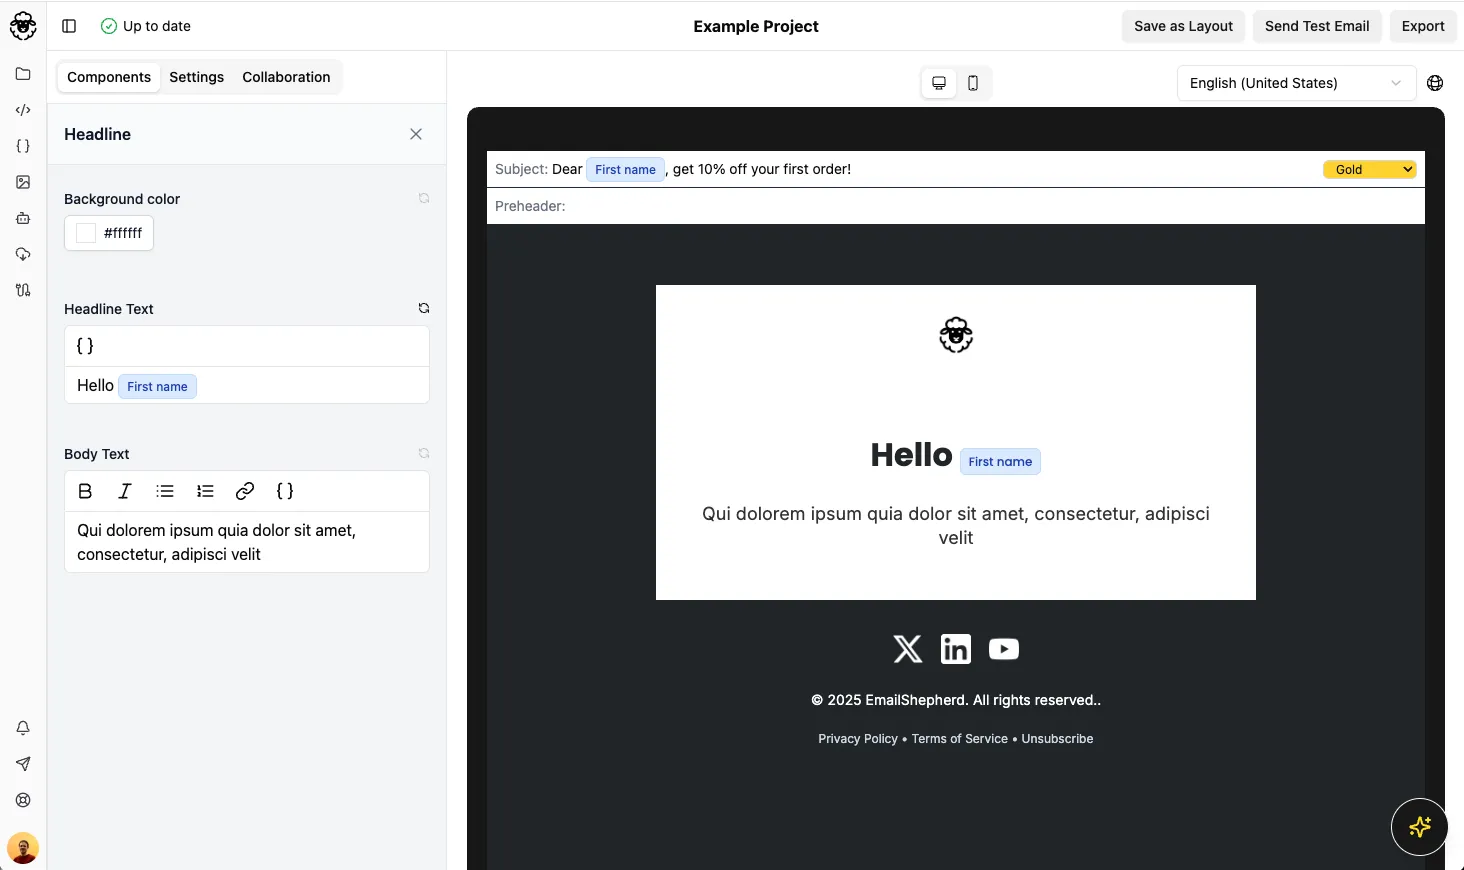
You can also use personalization tags in the email subject or preheader.
To preview the email with example values in place of the tag badges, see Editor preview options.