
Iterable
In this article, you will learn how to set up the Iterable connector and export an email from EmailShepherd to Iterable.
Obtain your Iterable API key
Section titled “Obtain your Iterable API key”Before setting up the Iterable connector, you need to obtain an API key from Iterable.
-
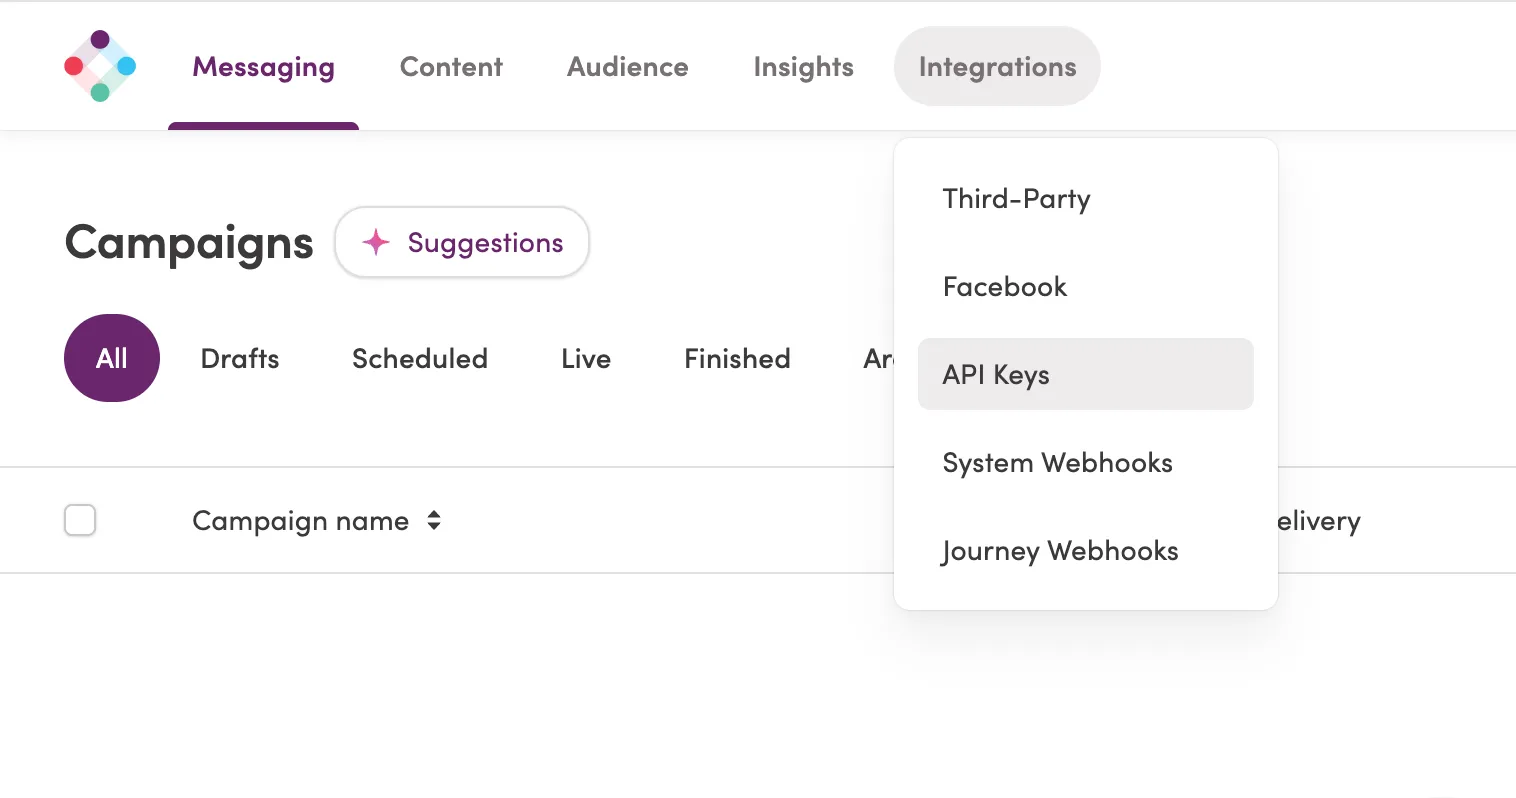
Log in to Iterable and navigate to Integrations > API Keys.
-
Click the New API Key button.
-
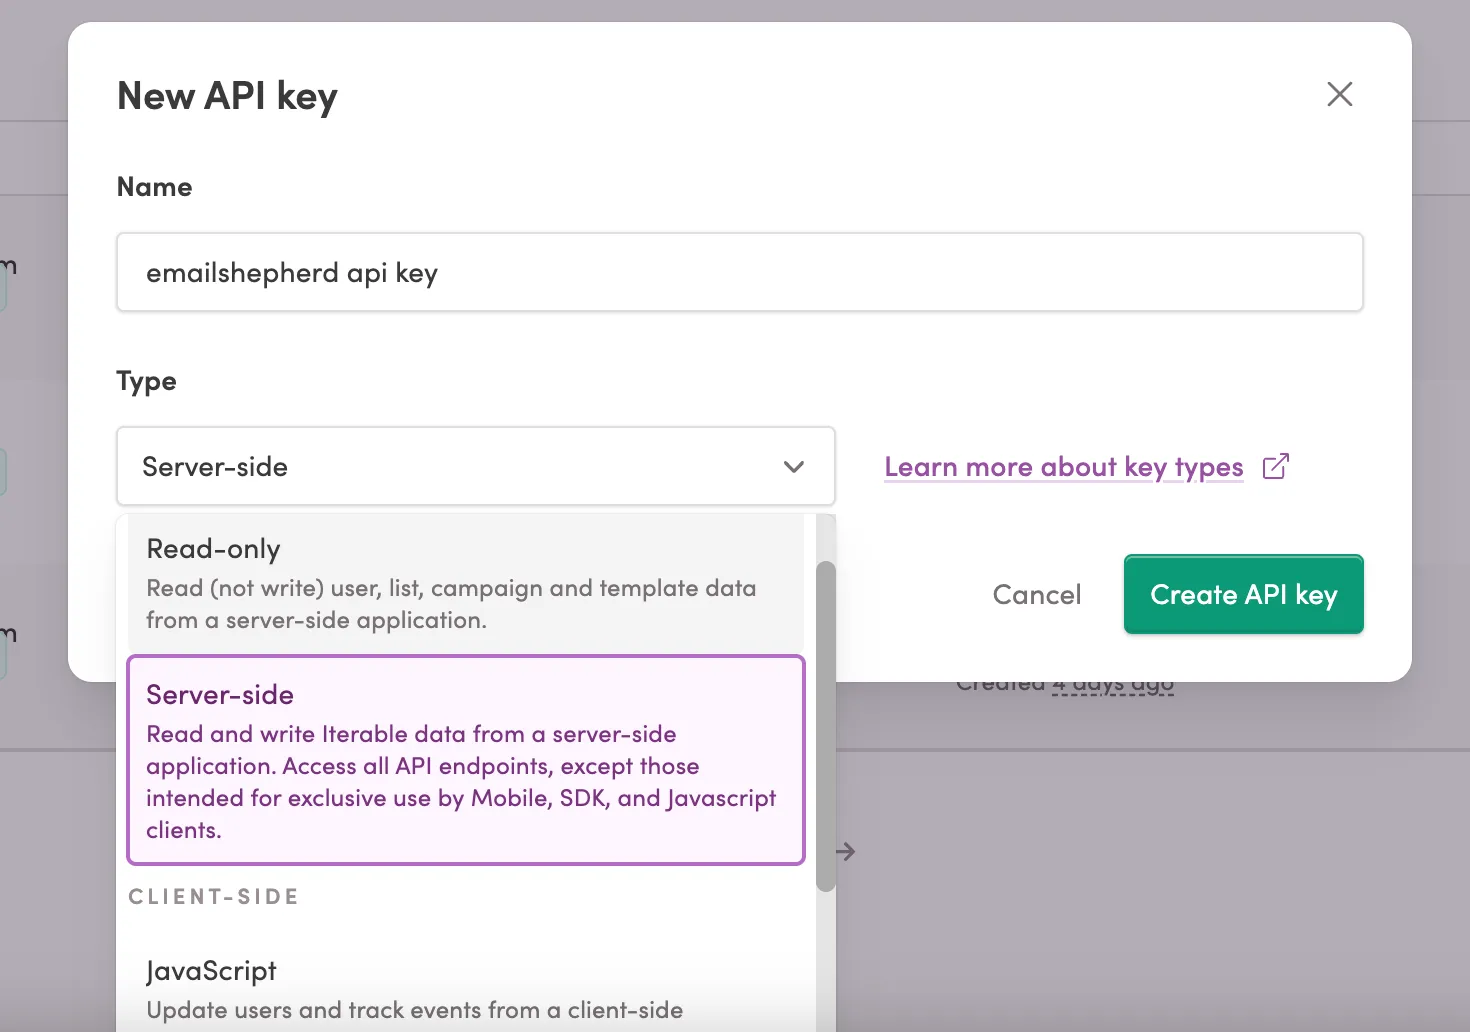
In the form:
- Enter a name for your API key.
- For API key type, select Server-side.
-
Click Create. You will be presented with your API key.
Connector setup in EmailShepherd
Section titled “Connector setup in EmailShepherd”-
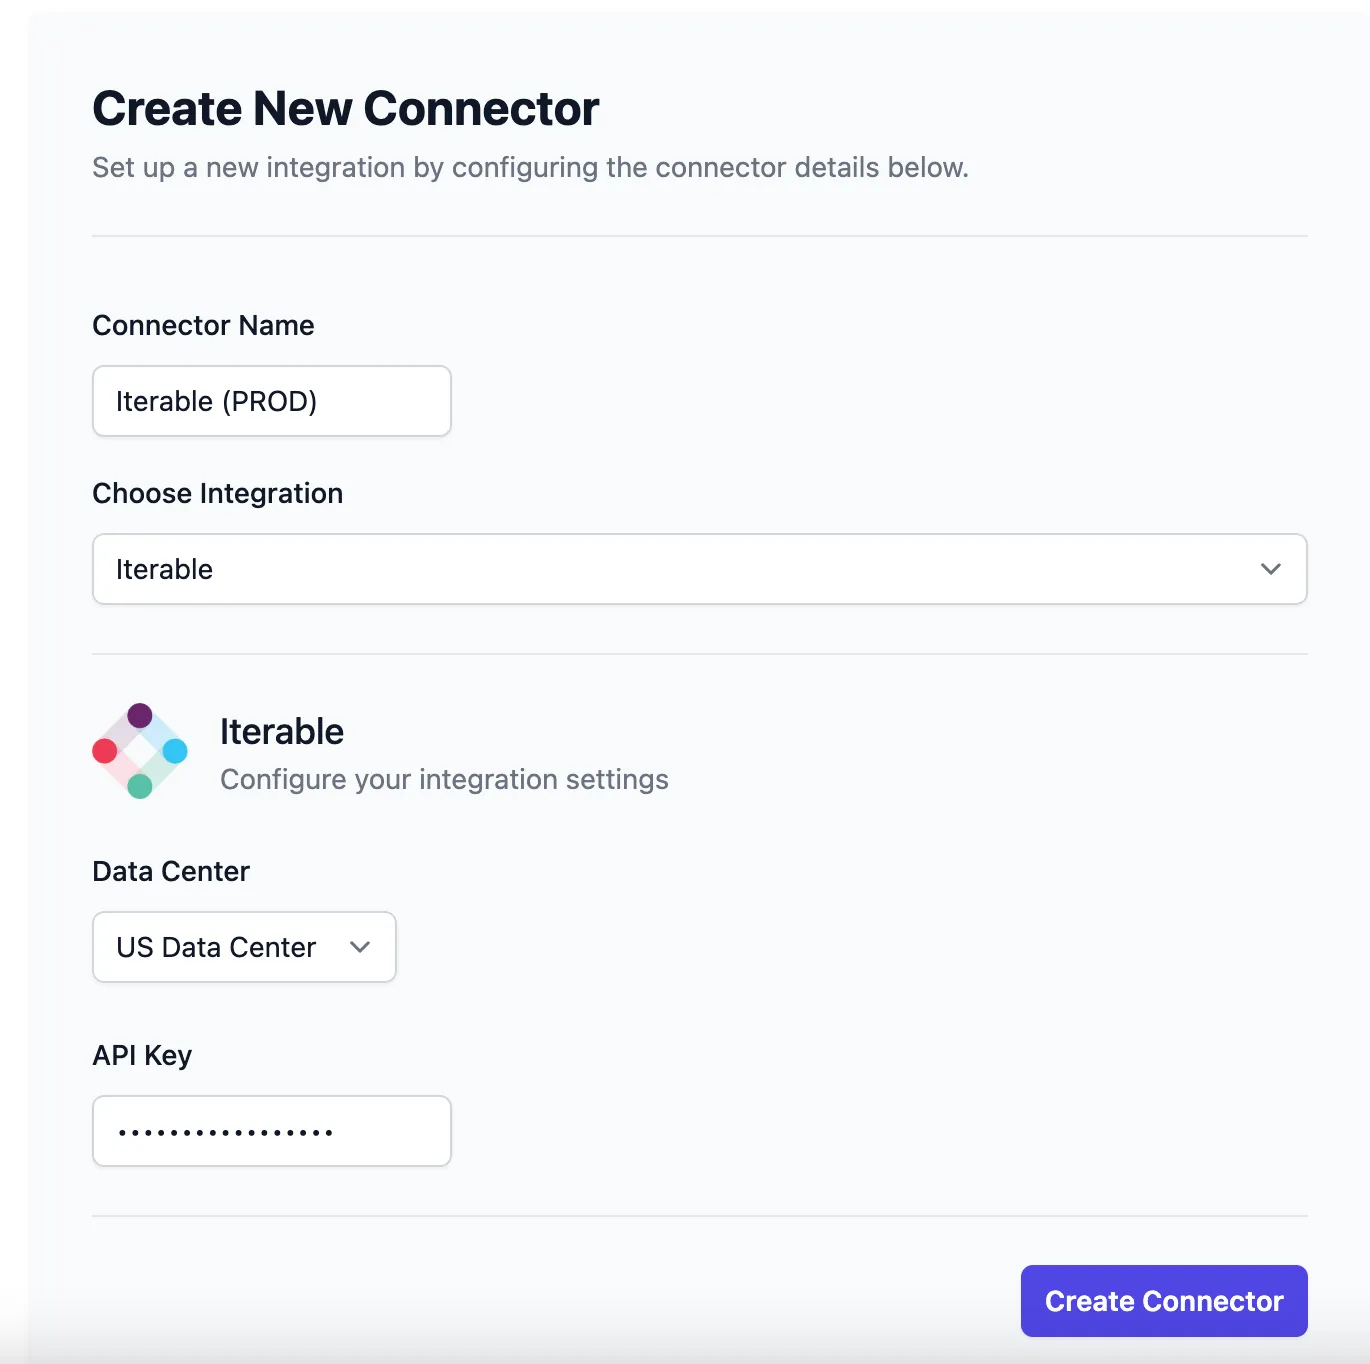
In EmailShepherd, navigate to the Connectors page and click Add Connector.
-
Enter a name for your connector and select Iterable as the connector type.
-
Select your Iterable data center.
-
Enter the API key you created in the previous step.
Iterable templating syntax
Section titled “Iterable templating syntax”We recommend creating a Dynamic Content Profile to set up your personalization tags and conditionals for Iterable.
Iterable supports personalization using the Handlebars templating engine. Use this syntax when configuring your Dynamic Content Profile.
Exporting an email to Iterable
Section titled “Exporting an email to Iterable”-
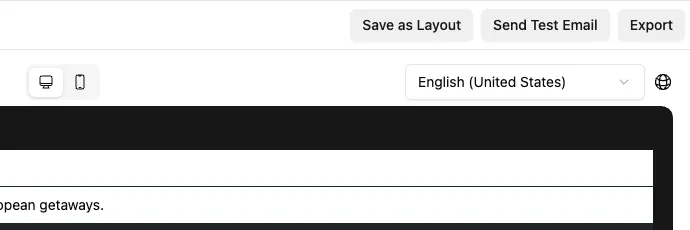
In the email editor, click on the Export button in the top-right corner. This will take you to the Export page.
-
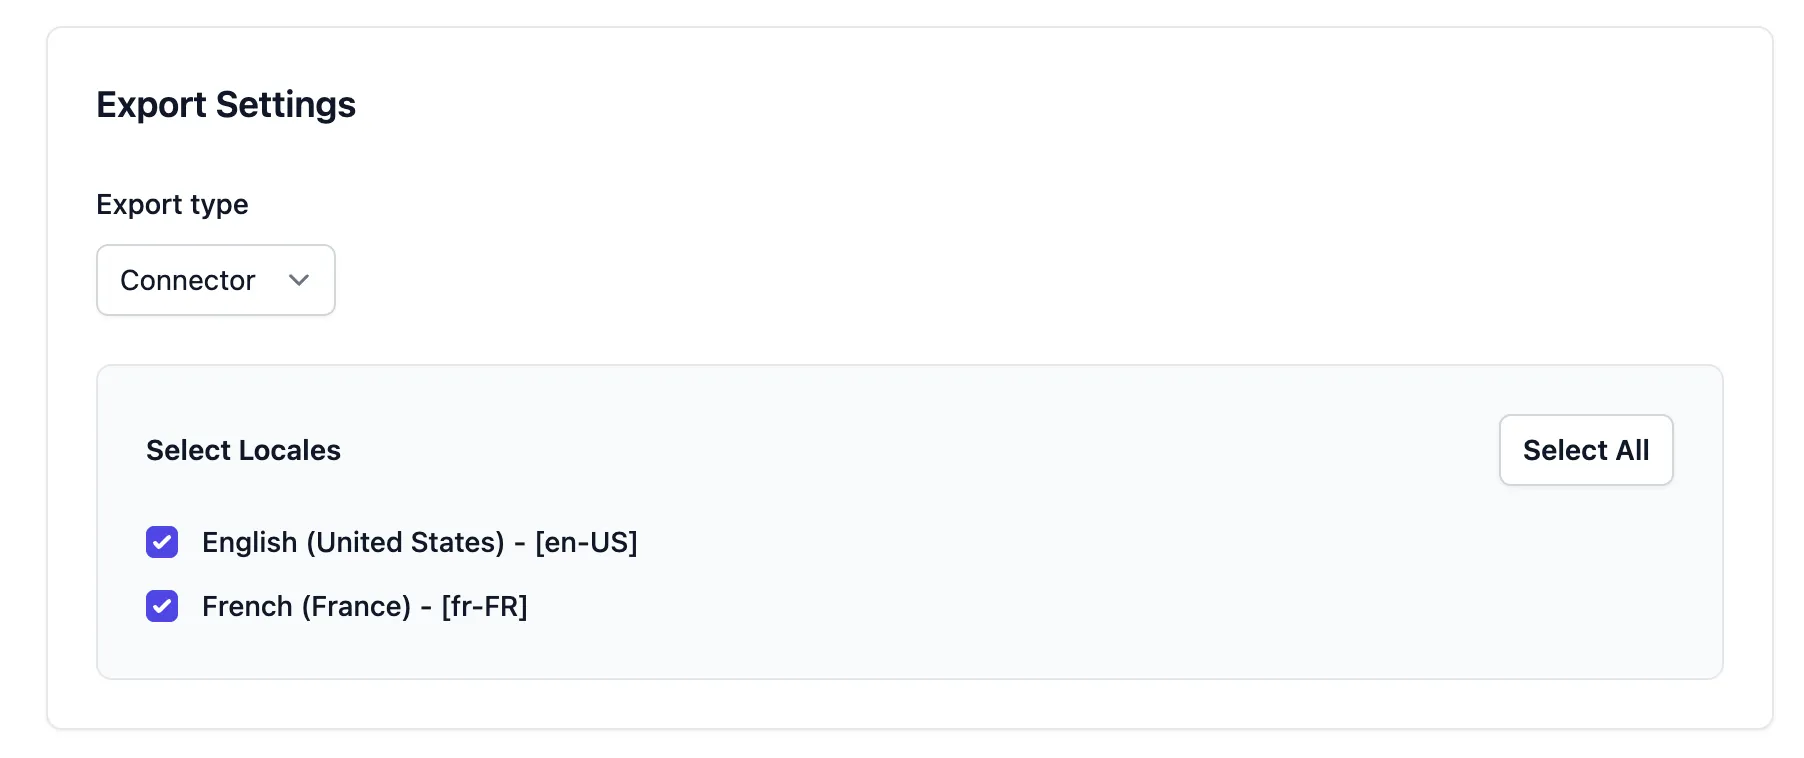
In the Export Settings section:
- Set Export Type to Connector.
- Select the locale(s) you want to export.
-
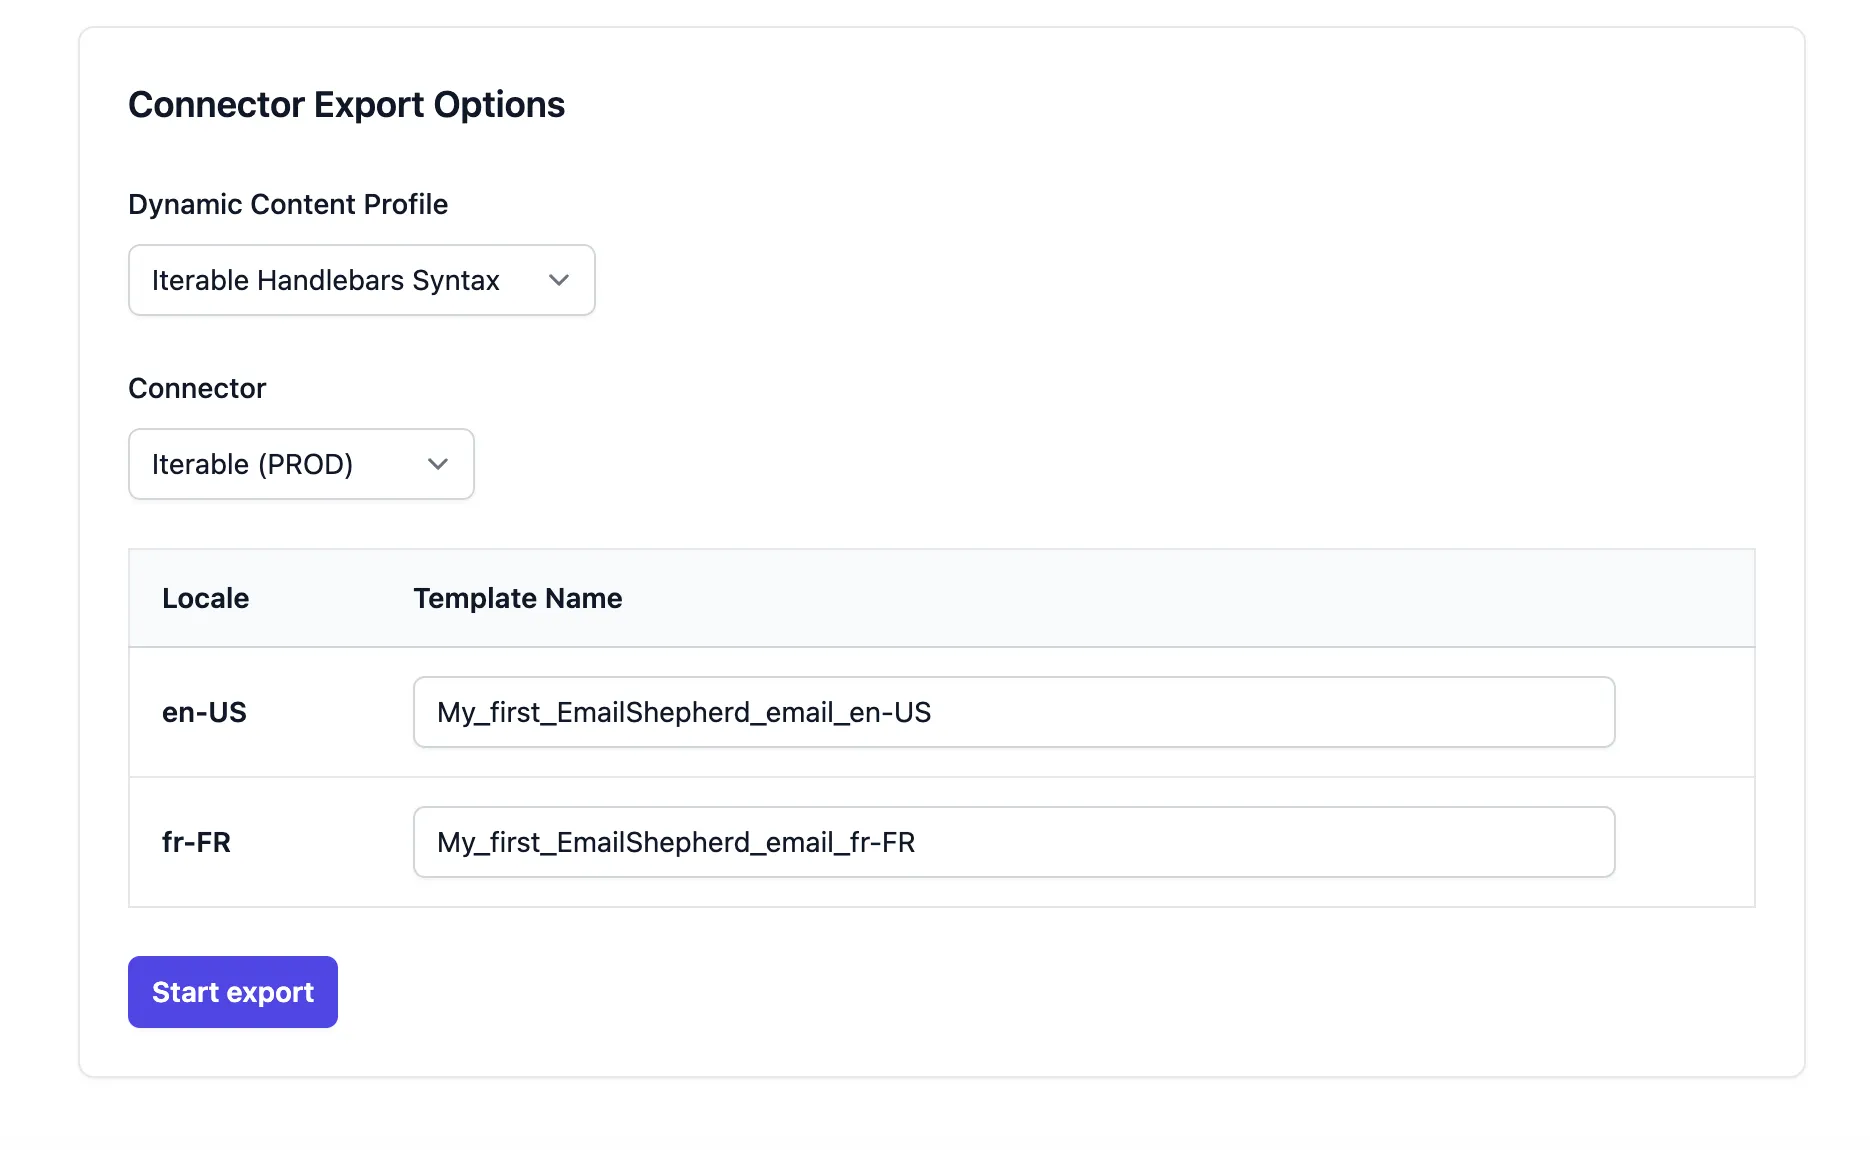
In the Connector Export Options section:
- Select the Dynamic Content Profile you created earlier (if applicable).
- Choose the Iterable connector you set up.
- Enter a Template Name for each locale you’re exporting.
-
Click Start Export.
-
Once the export completes, a link will appear to open the template directly in Iterable.