

How to upload images to the image library
This article shows you how to upload images to the image library, and how to choose between the original and a compressed version of each image.
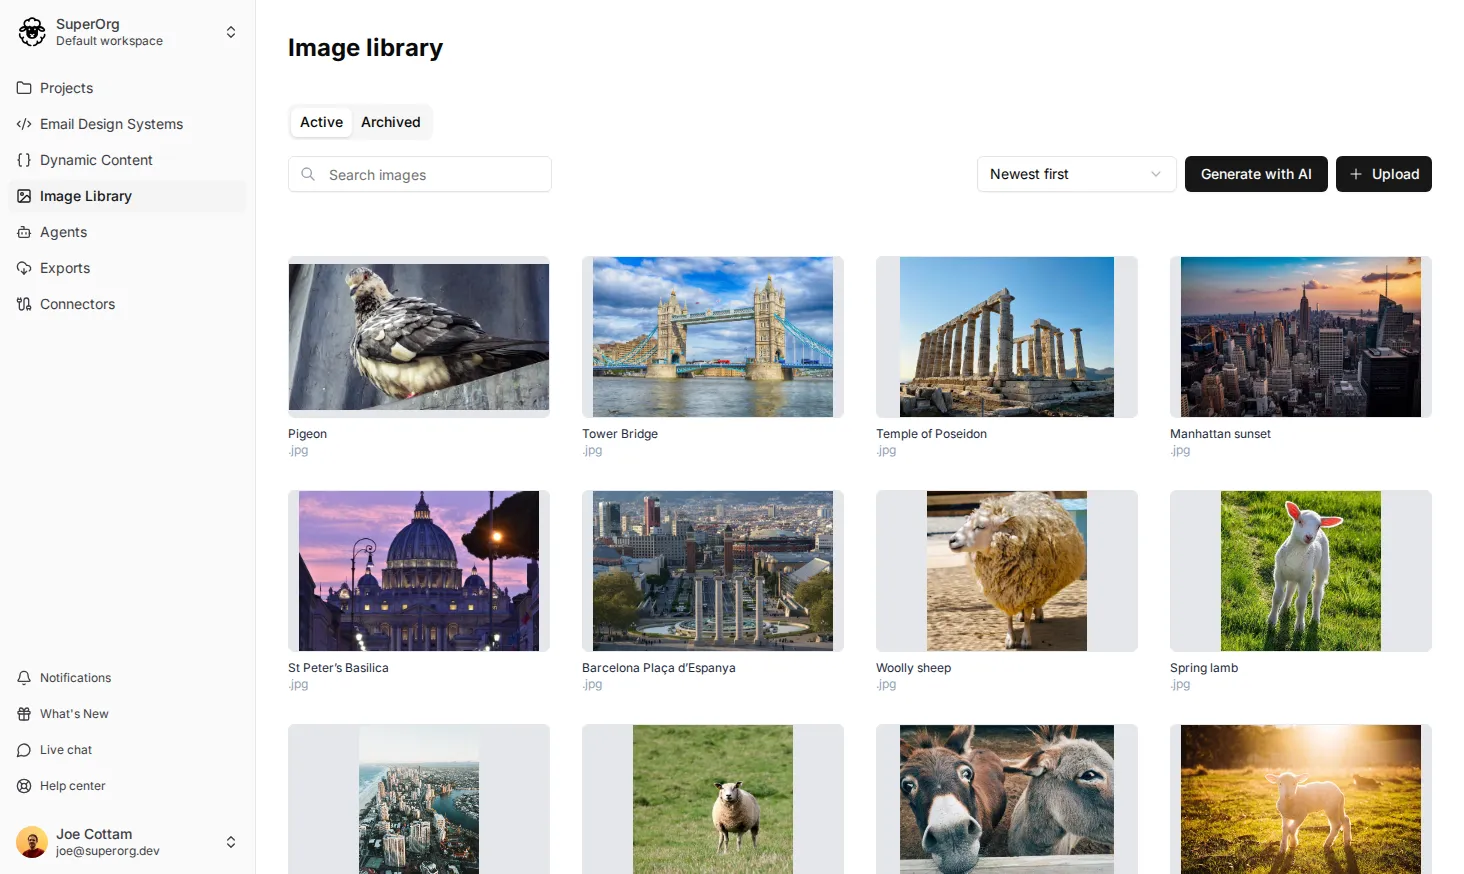
The image library is where your team’s images are stored in EmailShepherd. Images in the library are hosted for you on the EmailShepherd CDN, so you can use them in any email without hosting them yourself.
Before you begin
Section titled “Before you begin”The image library accepts JPEG, PNG, GIF and WebP images, up to 5MB each.
Upload images
Section titled “Upload images”Upload images from the image library page when you want to add several at once, or get them ready before anyone builds the email. You can also upload an image from the editor while you’re working on an email.
- In the sidebar, click Image Library.
- Click Upload.
- Drag your images into the window, or click Select images and choose them from your computer.
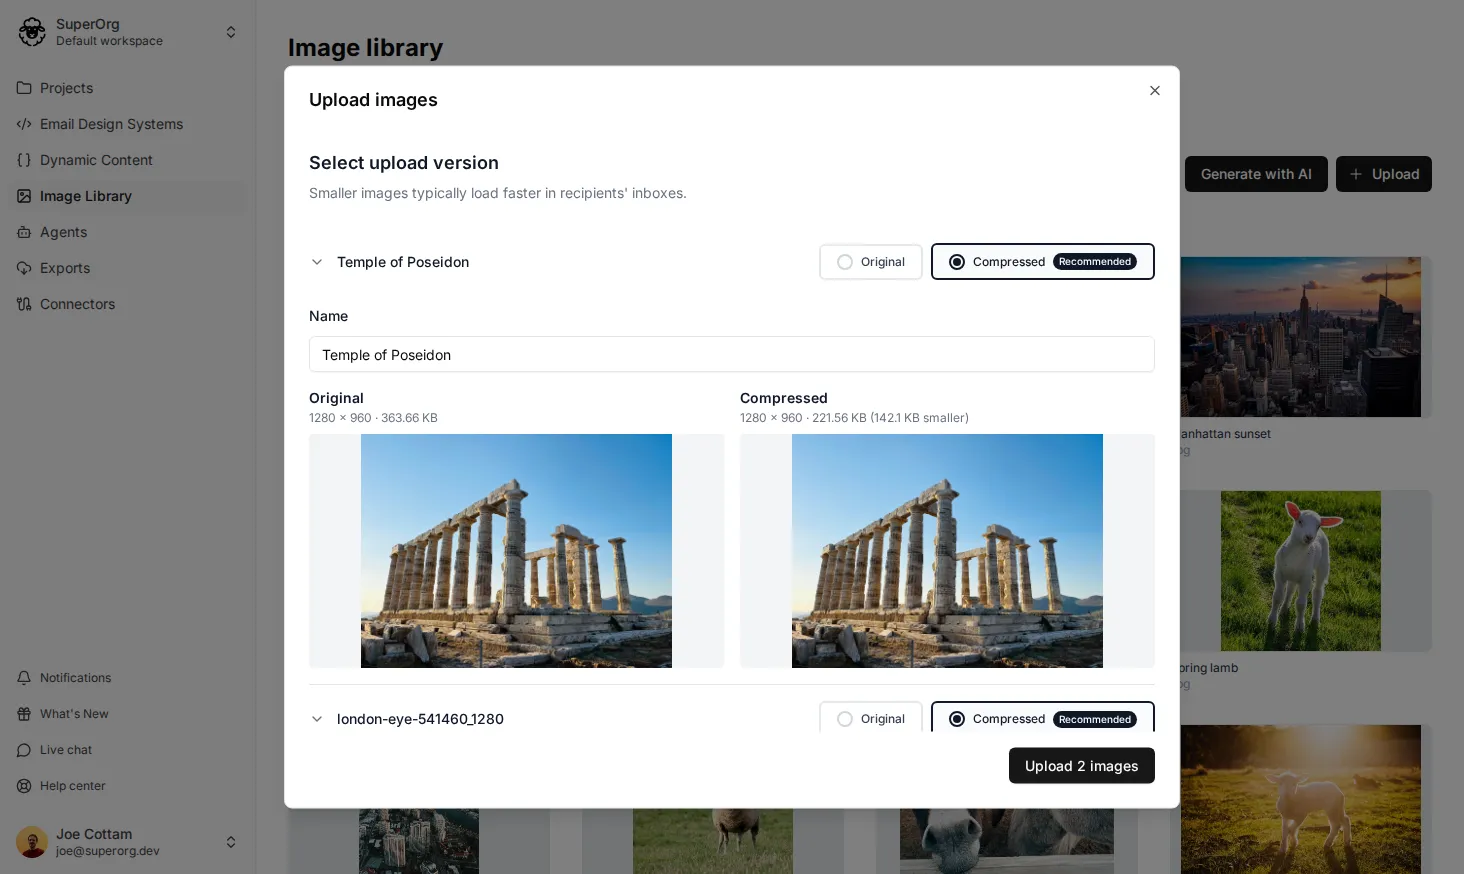
- EmailShepherd makes a compressed version of each image. For each image, choose whether to upload the Original or Compressed version. See Choose the original or compressed version to help you decide.
- For each image, enter a Name. The name starts as the file name, so a descriptive name makes the image easier for your team to find. If the Name field isn’t showing, click the image to expand it.
- Click the upload button, e.g. Upload 2 images.
Choose the original or compressed version
Section titled “Choose the original or compressed version”Smaller images load faster in your recipients’ inboxes. For each image, you can choose:
- Compressed: a smaller copy of your image, optimized for email.
- Original: the file exactly as you uploaded it.
The smaller of the two is marked Recommended and is selected for you. Expand an image to compare the two versions side by side. Each version shows its dimensions and file size, and the compressed version shows how much smaller it is.
Next steps
Section titled “Next steps”- Use your images in an email.
- Rename or archive images you’ve uploaded.