

Teams
This article shows you how to create a team, manage its members, and edit or delete it.
Teams control who can see which projects. Every project belongs to a team, and only the team’s members can see its projects and emails. To learn how teams fit with workspaces and projects, see Workspaces, teams and projects.
Create a team
Section titled “Create a team”- In the top-left of the sidebar, click your organization’s name, then select Organization settings.
- Select the Teams tab.
- Click Add Team.
- In Name, enter a name for the team, such as
Marketing. - In Badge Color, choose a color. The badge appears next to the team’s projects, so people can tell at a glance which team a project belongs to.
- In Workspace, select the workspace the team belongs to. You can’t change this later.
- Click Create Team.
Next, add members to the team.
Add a member to a team
Section titled “Add a member to a team”- In Organization settings, select the Teams tab.
- Beside the team, click Manage.
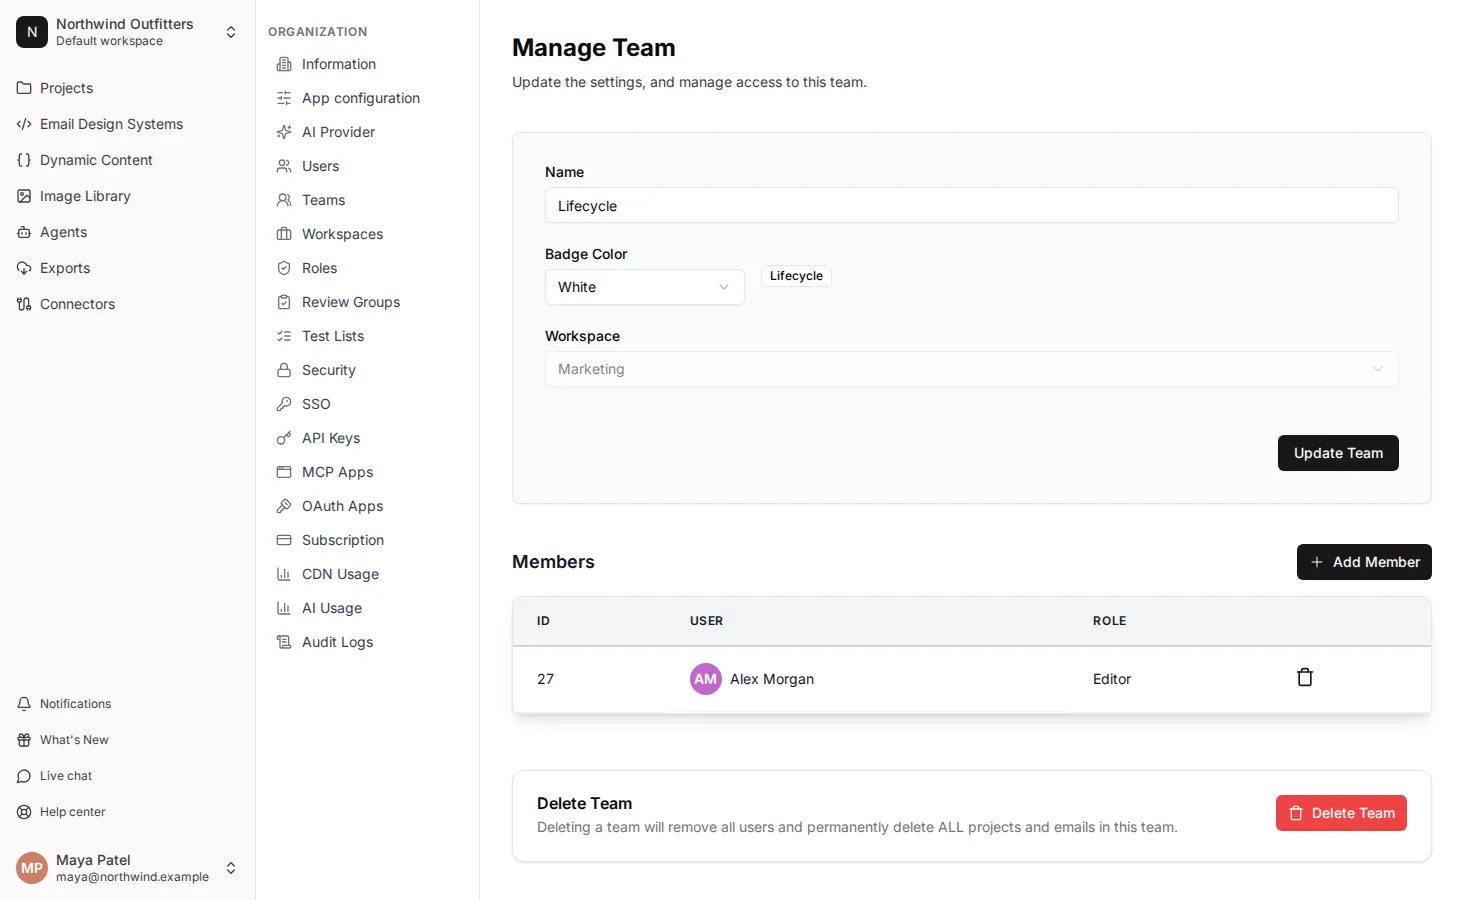
- Under Members, click Add Member.
- In User, select the user, then click Add Member.
Only users who are members of the team’s workspace are listed. To add someone to the workspace first, see Add a member to a workspace. To add someone who isn’t in your organization yet, invite them and choose the team when you invite them.
Remove a member from a team
Section titled “Remove a member from a team”- In Organization settings, select the Teams tab.
- Beside the team, click Manage.
- Under Members, click the remove icon beside the user.
- Confirm that you want to remove them.
The user can no longer see the team’s projects and emails, unless they have the Access All Teams permission.
Rename a team or change its badge color
Section titled “Rename a team or change its badge color”- In Organization settings, select the Teams tab.
- Beside the team, click Manage.
- Change the Name or Badge Color.
- Click Update Team.
Delete a team
Section titled “Delete a team”- In Organization settings, select the Teams tab.
- Beside the team, click Manage.
- Under Delete Team, click the delete icon.
- Read the warning, then click I have read and understand these effects.
- Type the team’s name to confirm, then click Delete Team.