

Fields
This article shows you how to add fields to a component and control how they behave in the email editor.
A field is a part of a component that people can change in the email editor, such as a headline, an image or a background color. Each field type shows a different input, like a text box, a toggle or a color picker. See the field type reference for every type.
Fields you add to the container component are global fields, which apply to the whole email.
You do all of this on the Fields tab in Component Builder. Changes only reach emails when you apply them.
Add a field
Section titled “Add a field”-
Open the component in Component Builder.
-
In the right panel, on the Fields tab, click Add field.
-
Choose the type of field.
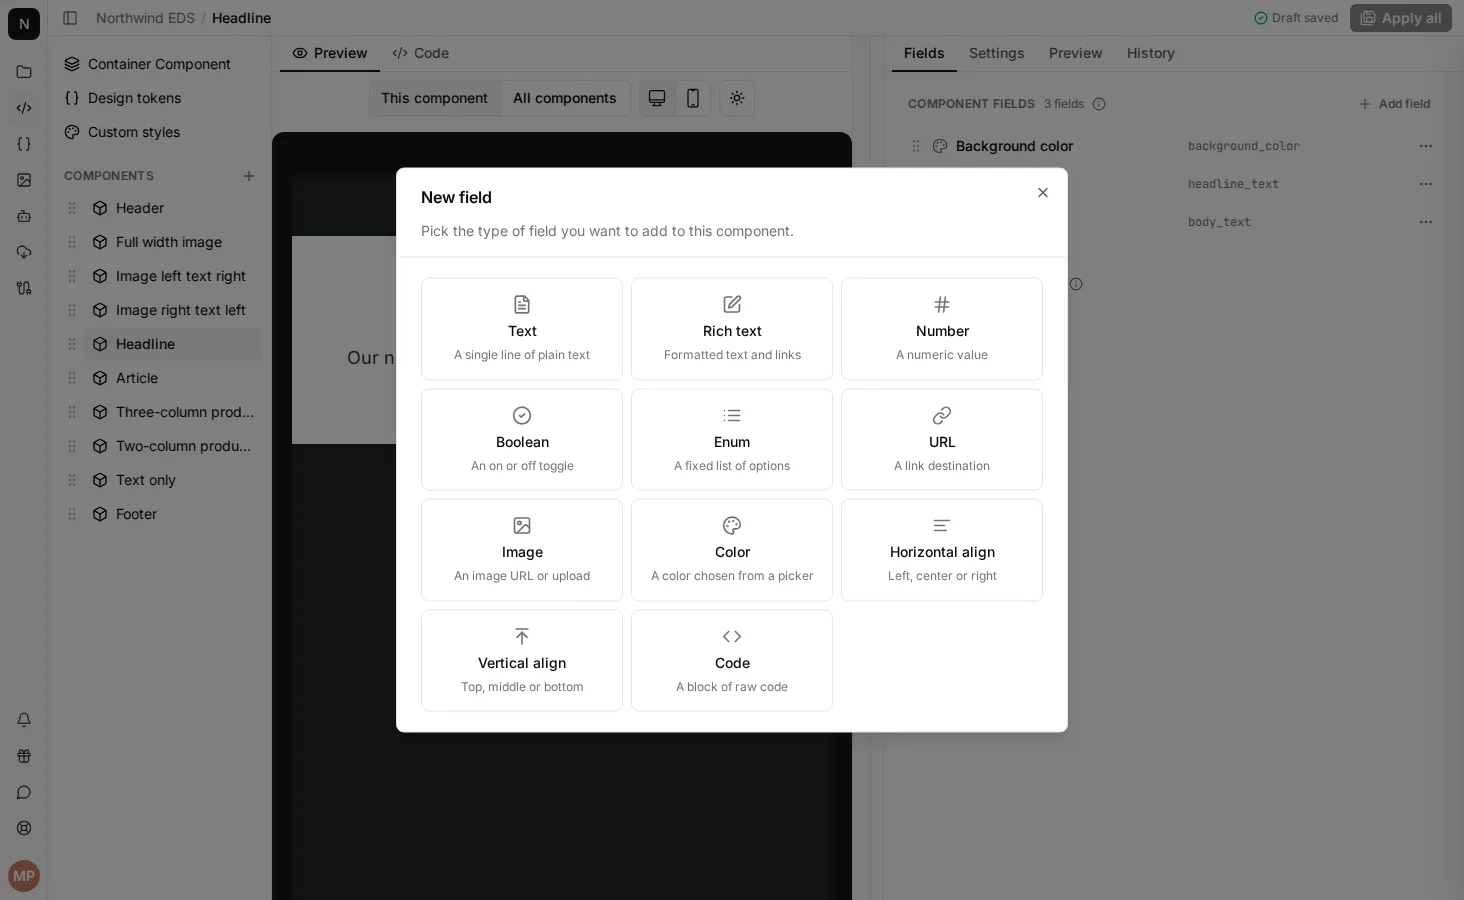
-
In Label, enter the name people see in the email editor, such as Subheading.
-
In Liquid variable, check the name you’ll use for the field in the template. It’s filled in from the label, and can only contain letters, numbers and underscores.
-
Fill in any other options you need:
- Group: see Group fields.
- Hint (optional): help text shown beneath the field in the email editor. AI agents read it too, so use it to guide them when the value that should go in the field isn’t obvious.
- Default value: the value the field starts with when someone adds the component to an email. It’s also used in the Component Builder preview.
- Options for the field type, such as the choices for an enum field. See the field type reference.
- Validation rules: see Add validation rules.
- Field visibility: see Show a field only when it’s needed.
-
Click Create.
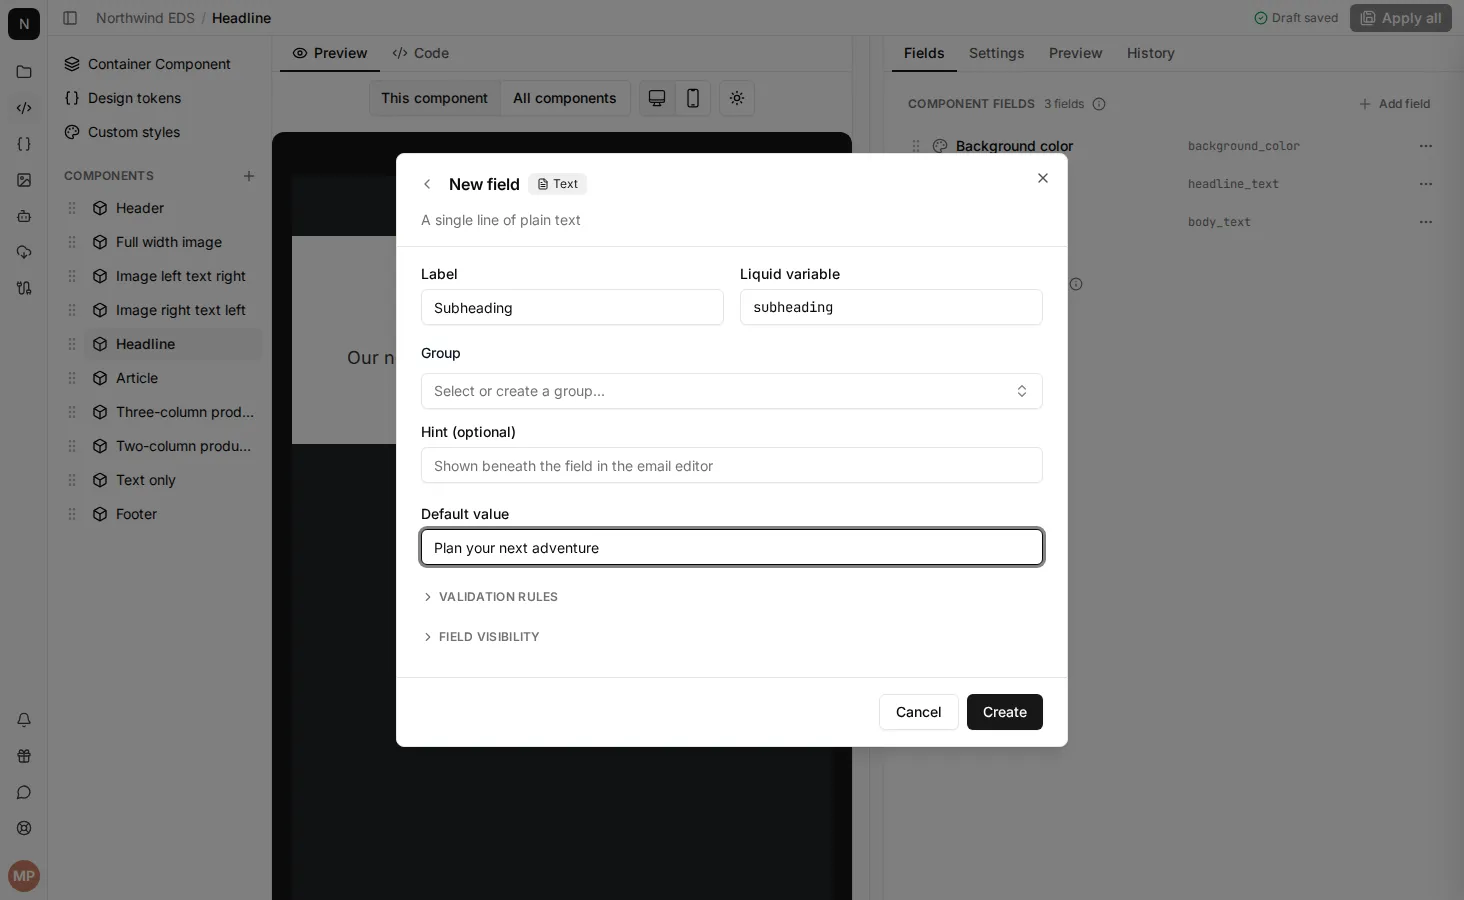
Then add the field to the component’s template using its Liquid variable, such as {{subheading}}. See Component templates.
Group fields
Section titled “Group fields”Groups make components with lots of fields easier to edit. For example, a Feature image group could hold an image field and its alt text. In the email editor, each group is its own section.
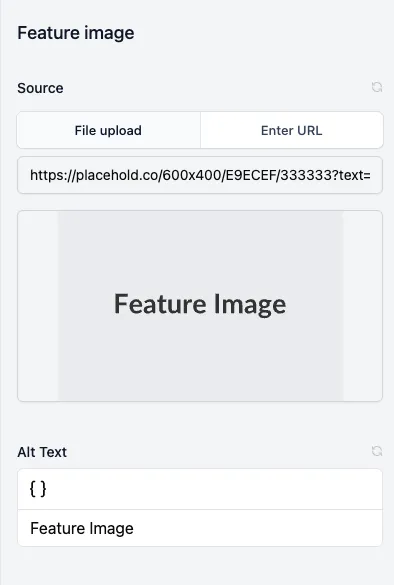
To put a field in a group:
- On the Fields tab, click the field.
- In Group, either choose an existing group, or click Create new group and enter a name in New group name.
- Click Save.
To take a field out of a group, choose No group.
On the Fields tab, each group is a box containing its fields. Use the up and down arrows on a group to move it, or click … on the group to Rename or Duplicate it.
Show a field only when it’s needed
Section titled “Show a field only when it’s needed”You can hide a field in the email editor unless a condition is true. For example, a component might have an optional image, with a Show image boolean field that turns it on and off. The image field only needs to show in the editor while Show image is on.
- On the Fields tab, click the field you want to hide.
- Expand Field visibility.
- In Visible if, enter the condition as a Liquid expression, without the
{% %}tags. For example:show_imageshows the field when theshow_imagetoggle is on.layout == 'wide'shows the field when thelayoutenum field is set towide.global_fields.theme == 'dark'shows the field when thethemeglobal field is set todark.
- Click Save.
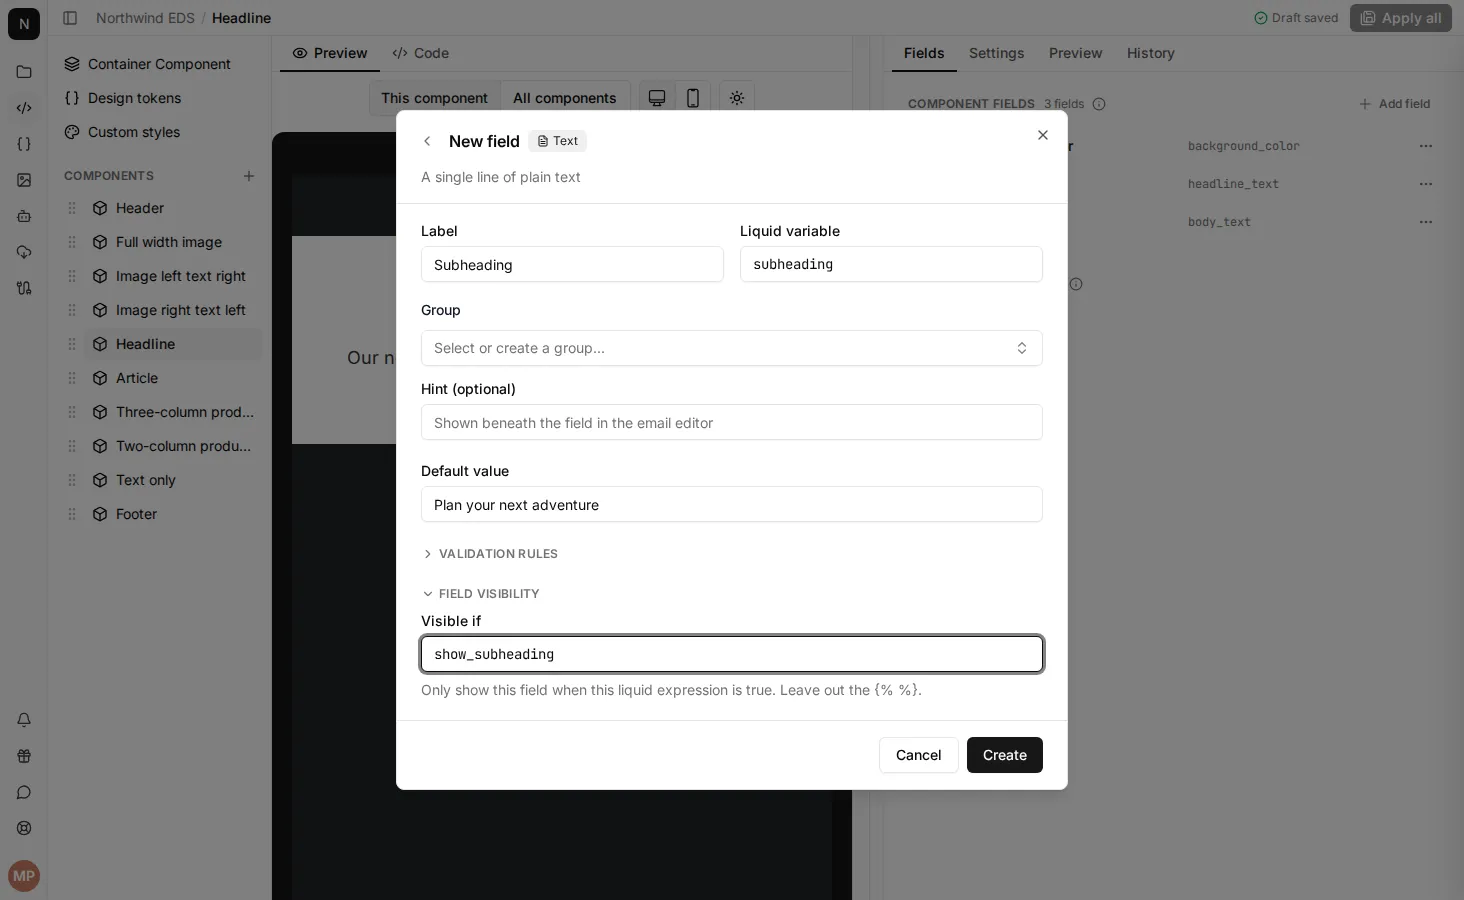
Hiding a field only hides it in the email editor. Use the same condition in your template so the component doesn’t output it either:
{% if show_image %} <img src="{{image_src}}" />{% endif %}Add validation rules
Section titled “Add validation rules”Validation rules keep content within your guidelines, such as a headline short enough for one line, or a field that mustn’t be left with its placeholder content.
- On the Fields tab, click the field.
- Expand Validation rules.
- Enter the limits or turn on the rules you want. The rules available depend on the field type. See the field type reference.
- Click Save.
When a field breaks a rule, the email editor shows an error on the field:
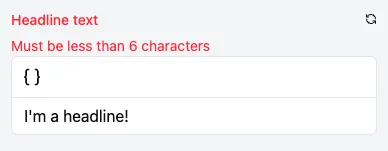
The component also shows an error in the email:
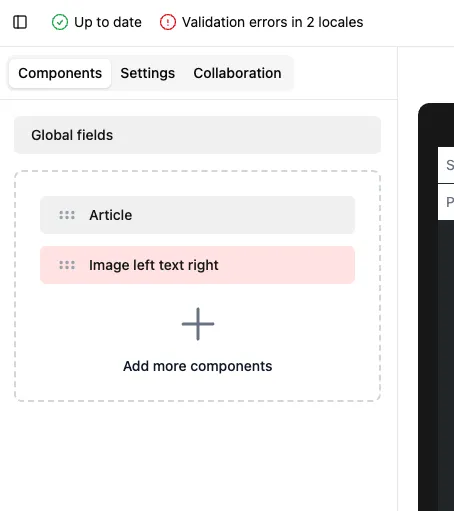
Edit, reorder and delete fields
Section titled “Edit, reorder and delete fields”On the Fields tab:
- Edit a field: click it. You can change everything except the field’s type.
- Reorder fields: drag a field by its handle. Fields appear in the email editor in this order.
- Duplicate a field: click … > Duplicate on the field.
- Delete a field: click … > Delete on the field.
Click a field’s Liquid variable to copy it.