

How to use images in an email
This article shows you how to fill an image field in the editor, either with an image from the image library or with an image that’s hosted somewhere else.
Components in your Email Design System can have image fields. Each image field has two tabs:
- File upload: pick an image from the image library, or upload a new one.
- Enter URL: use an image that’s already hosted somewhere else, by entering its URL.
Add an image from the image library
Section titled “Add an image from the image library”-
In the editor, select the component and go to the image field you want to fill.
-
Select the File upload tab.
-
Click Choose or upload image.
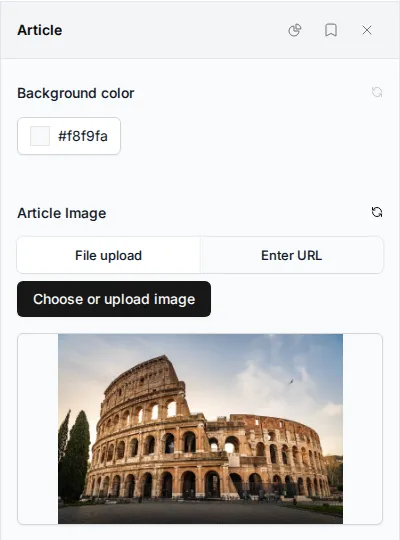
-
On the Image library tab, find the image you want. You can search for it by name.
-
Click Select next to the image.
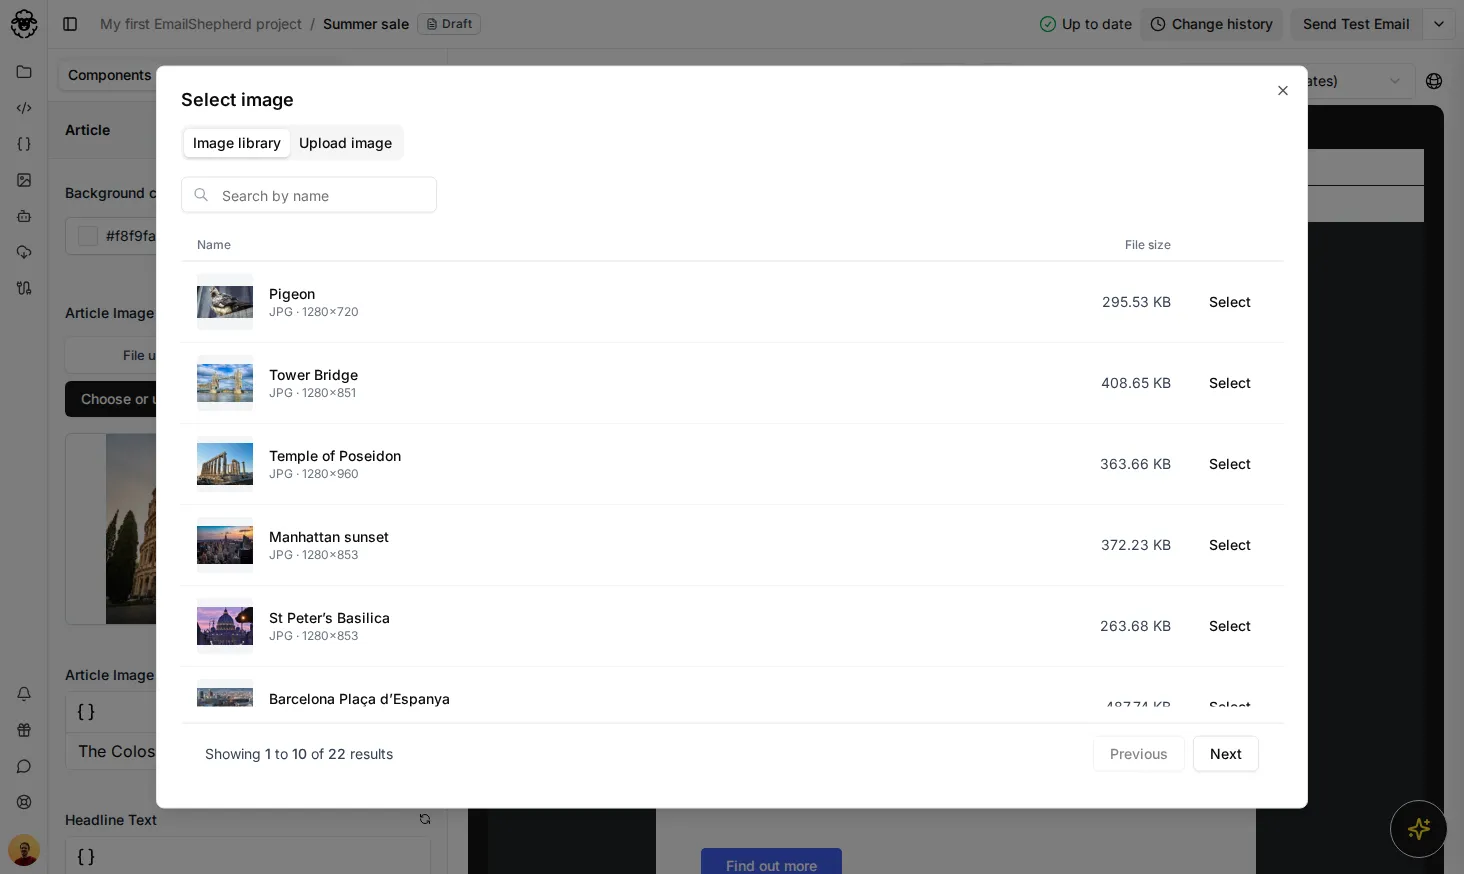
Upload a new image from the editor
Section titled “Upload a new image from the editor”Images you upload from the editor are added to the image library too, so your team can use them in other emails.
- In the editor, select the component and go to the image field you want to fill.
- Select the File upload tab.
- Click Choose or upload image.
- Select the Upload image tab.
- Drag your image into the window, or click Select image and choose it from your computer.
- Choose the Compressed or Original version of the image, and enter a Name. See Choose the original or compressed version to help you decide.
- Click Upload.
Use an image hosted elsewhere
Section titled “Use an image hosted elsewhere”If an image is already hosted somewhere else, such as on your own website or CDN, you can use it without uploading it to the image library.
- In the editor, select the component and go to the image field you want to fill.
- Select the Enter URL tab.
- Paste the image’s URL. It should start with
https://.
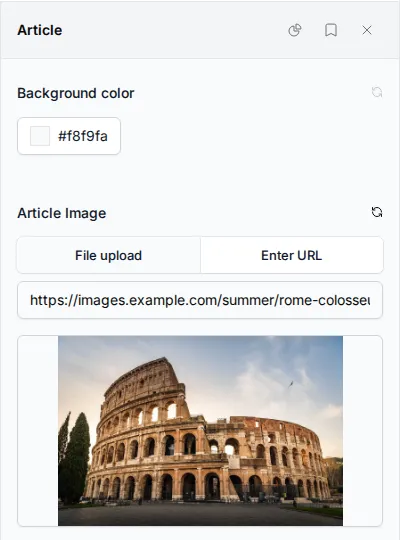
A preview of the image appears under the field, so you can check it’s the right one.