How to add link tracking to an email
This article shows you how to add link tracking to an email, so the links in it get tracking parameters, such as UTM parameters, when the email is exported.
A link tracking profile sets which parameters are added to links. Some parameters always have the same value. Others ask you for a value while you build the email, either for each link, for each component, or for the whole email.
Before you begin
Section titled “Before you begin”Your workspace needs a link tracking profile. To set one up, see How to create a link tracking profile.
Choose a link tracking profile for an email
Section titled “Choose a link tracking profile for an email”You can choose the profile when you create the email, or change it later.
- In the project, open the menu on the email’s card and select Edit settings.
- In Link tracking profile, select the profile.
- Click Save.
To turn off link tracking for the email, select No link tracking profile.
Fill in the tracking values
Section titled “Fill in the tracking values”Depending on how the profile is set up, the editor asks for tracking values in up to three places.
For each link
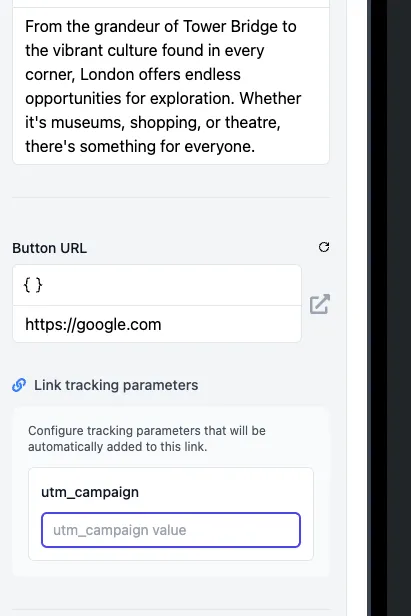
Section titled “For each link”Below each link field, enter the values for that link.
For each component
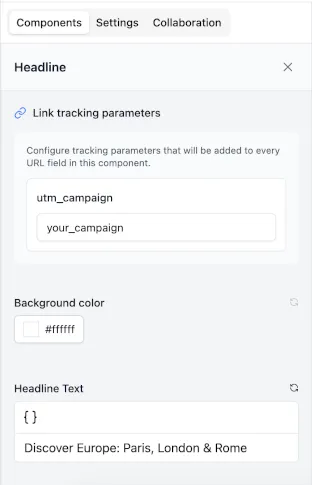
Section titled “For each component”Open the component and enter the values. They’re used for every tracked link in the component.
For the whole email
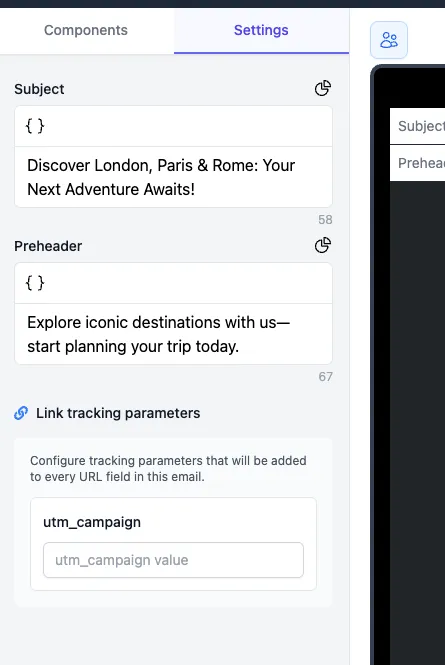
Section titled “For the whole email”Select the Settings tab and enter the values under Link tracking parameters. They’re used for every tracked link in the email.