Managing Email Design Systems
This article shows you how to create an Email Design System (EDS) and manage its settings.
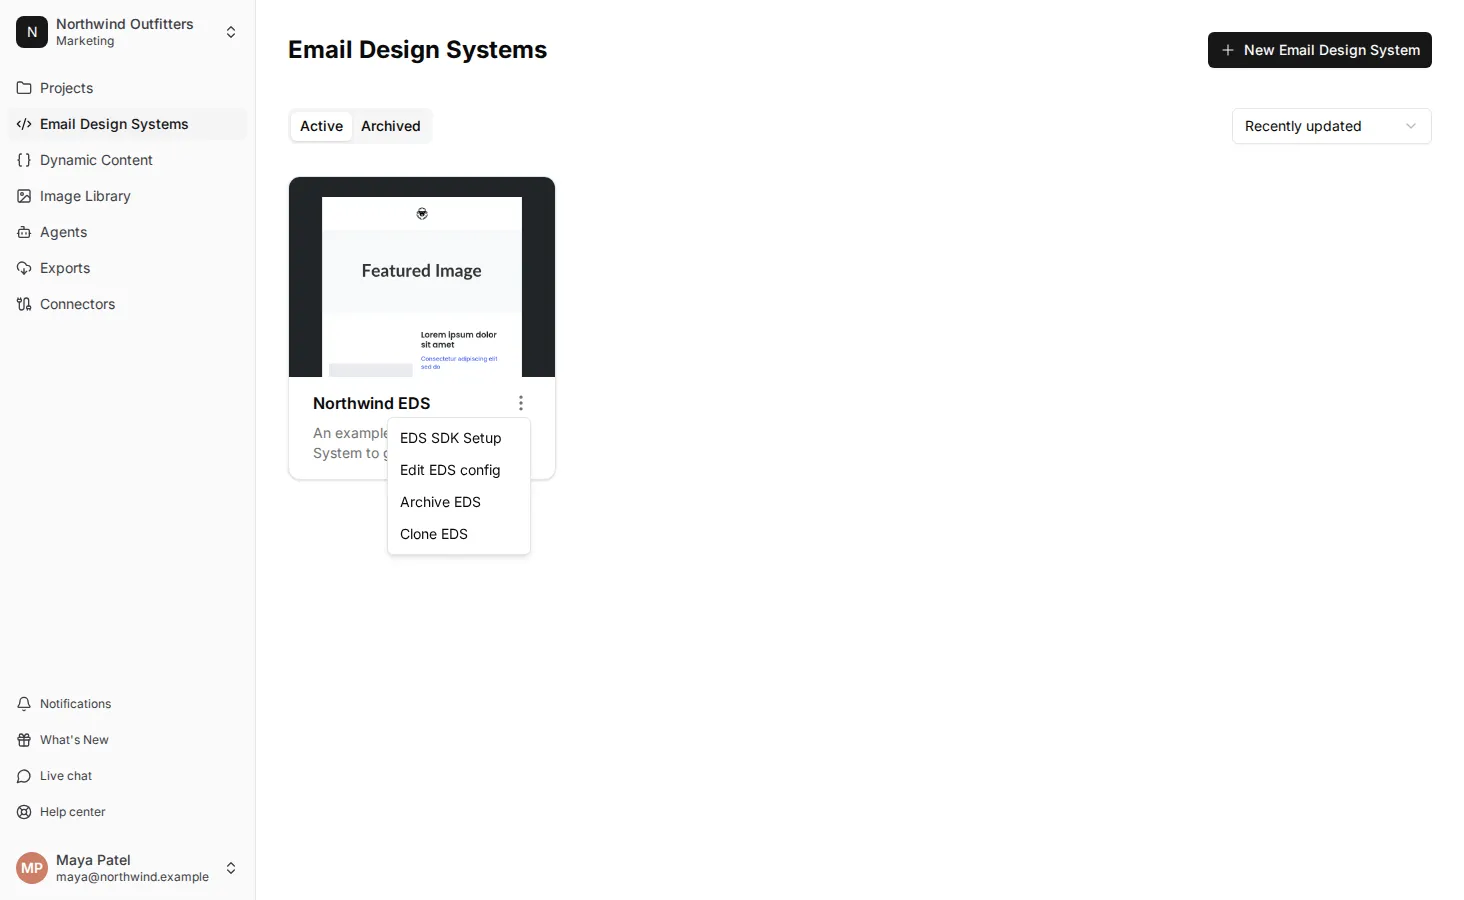
To find your Email Design Systems, click Email Design Systems in the sidebar. Most of the tasks below start from the options menu on an EDS: click the ⋮ button on it.
Create an Email Design System
Section titled “Create an Email Design System”If your organization uses custom roles, you need the Create Email Design Systems permission.
- In the sidebar, click Email Design Systems.
- Click New Email Design System.
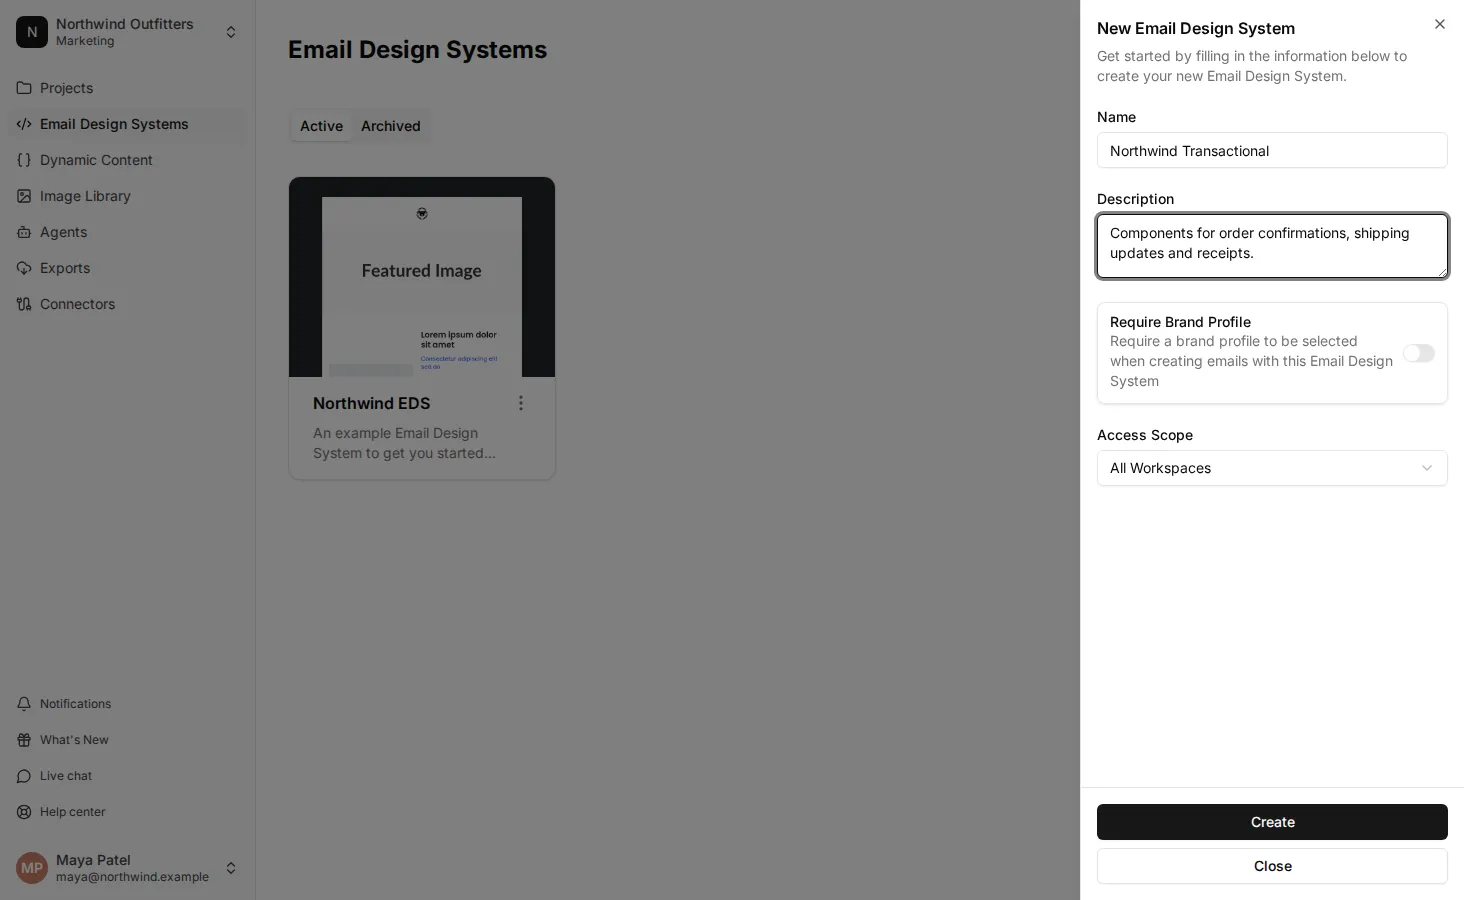
- In Name, enter a name for the EDS.
- In Description, optionally describe what the EDS is for.
- Turn on Require Brand Profile if the EDS shouldn’t be used without a brand profile, for example when each client or brand has its own profile. Every email that uses the EDS must then have a brand profile selected. See Require a brand profile.
- In Access Scope, choose which workspaces can use the EDS. See Share an Email Design System across workspaces.
- Click Create.
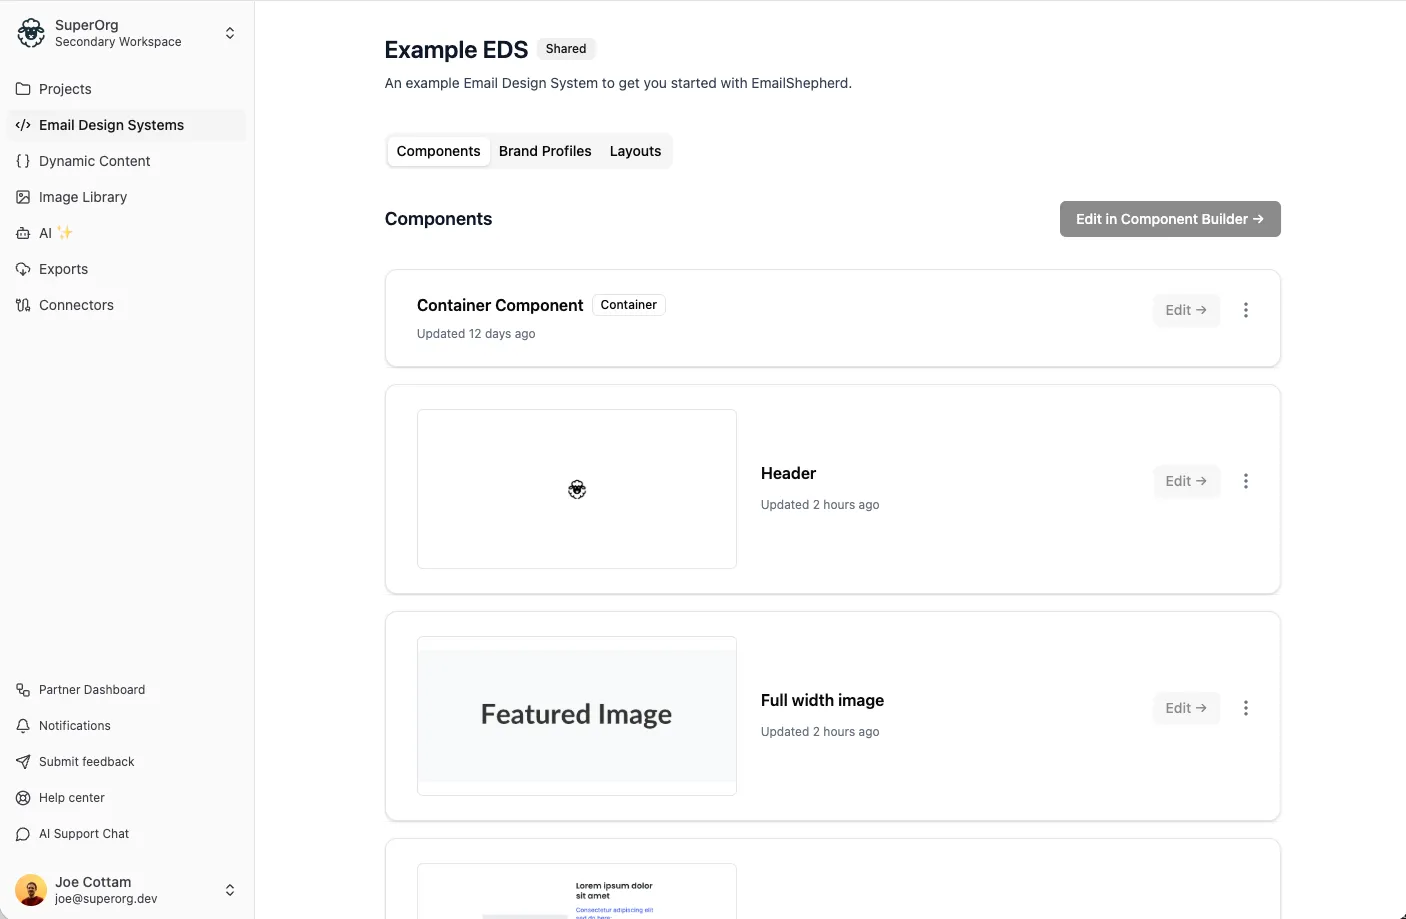
The new EDS opens on its Components tab. It starts with a container component, the shell every email is built inside. Click Edit in Component Builder to start adding components. See Component Builder.
Edit an Email Design System’s settings
Section titled “Edit an Email Design System’s settings”If your organization uses custom roles, you need the Update Email Design Systems permission.
- On the EDS, click ⋮ > Edit EDS config.
- Change the Name, Description, Require Brand Profile or Access Scope.
- Click Save.
Clone an Email Design System
Section titled “Clone an Email Design System”Cloning makes a copy of an EDS and its components. Use it to try out big changes, or to start a new EDS from one you already have. Brand profiles aren’t copied.
If your organization uses custom roles, you need the Create Email Design Systems permission.
- On the EDS, click ⋮ > Clone EDS.
- In Name, enter a name for the copy.
- Click Clone.
Archive an Email Design System
Section titled “Archive an Email Design System”Archive an EDS when your team no longer uses it. Archived Email Design Systems move to the Archived tab and can’t be edited.
Emails that already use the EDS aren’t removed or changed. You just can’t choose the archived EDS when you create a new email.
If your organization uses custom roles, you need the Update Email Design Systems and Delete Email Design Systems permissions.
- On the EDS, click ⋮ > Archive EDS.
To bring it back, open the Archived tab, then click ⋮ > Unarchive EDS on the EDS.
Share an Email Design System across workspaces
Section titled “Share an Email Design System across workspaces”An EDS can be shared with every workspace in your organization, so different teams or regions build emails from the same components. It’s still managed in one place, the workspace that created it, so there’s a single version everyone uses.
If your organization uses custom roles, you need the Update Email Design Systems permission.
- In the workspace that owns the EDS, click ⋮ > Edit EDS config on the EDS.
- In Access Scope, choose:
- All Workspaces: every workspace in your organization can use the EDS. This is the default for new Email Design Systems.
- This Workspace Only: only the workspace that created it can use the EDS.
- Click Save.
Using a shared Email Design System
Section titled “Using a shared Email Design System”In other workspaces, a shared EDS has a Shared badge.
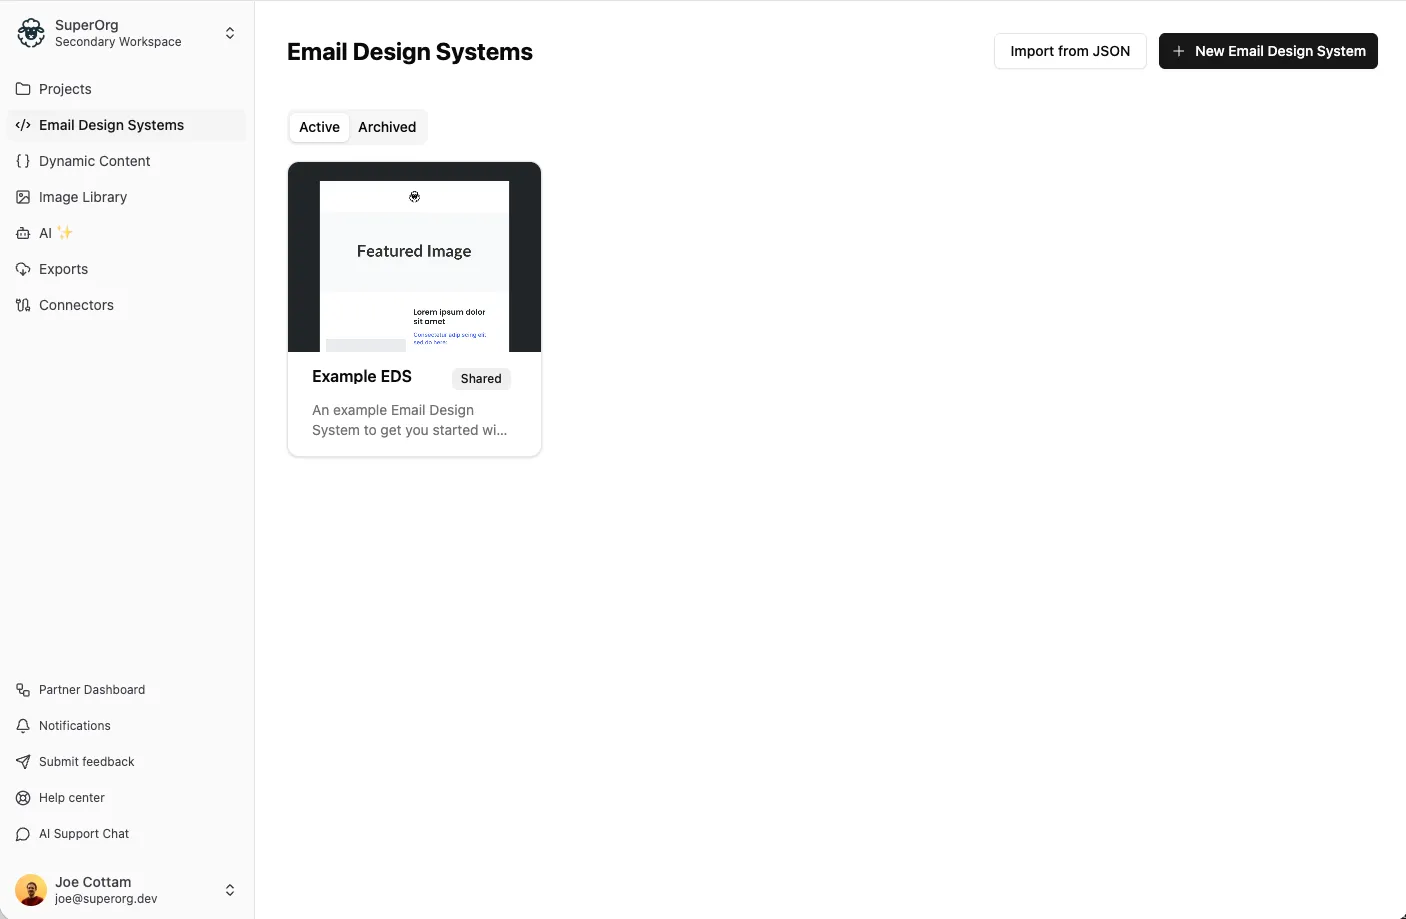
People in those workspaces can create emails with it, view and preview its components, and use its brand profiles. They can also create their own brand profiles for it, which only their workspace can see.
They can’t change the EDS or the brand profiles that come with it. Its settings, Component Builder and the EDS SDK are only available in the workspace that owns it. To make a change, switch to that workspace.