

How to set up locales
This article shows you how to choose the locales your organization works in, so your team can add them to emails.
Enabling a locale makes it available to add to emails. It doesn’t add the locale to any emails or translate anything.
Set up your locales
Section titled “Set up your locales”- In the top-left of the sidebar, click your organization’s name, then select Organization settings.
- Click App configuration.
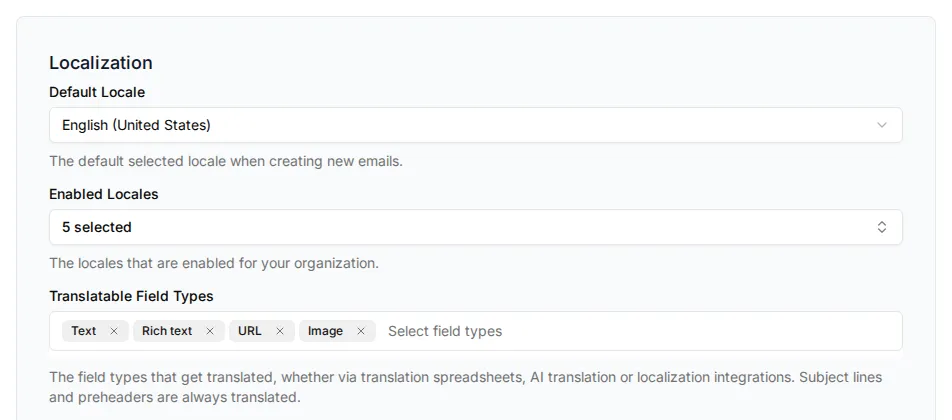
- Under Localization, in Enabled Locales, select each language and region your team needs. You can search the list to find a locale.
- In Default Locale, select the locale new emails should start in. People can choose a different one when they create an email.
- In Translatable Field Types, select the field types that get translated when people translate an email with AI or with a spreadsheet. Subject lines and preheaders are always translated. For example, leave out Color so colors stay the same in every locale.
- Click Save Changes.
Next, translate an email into your locales.