

How to translate an email
This article shows you how to add locales to an email, translate them, and review each version before you export it.
When you add a locale, EmailShepherd fills it with content from another locale, ready for you to translate by hand, or translates it for you with AI. To learn how localized emails work, see Getting started with localization.
Before you begin
Section titled “Before you begin”- The locales you want must be enabled for your organization.
- Finish the content in your email’s default locale first. Translations are made from it, so changes you make afterwards won’t reach the other locales.
Add locales to an email
Section titled “Add locales to an email”-
Open the email in the editor.
-
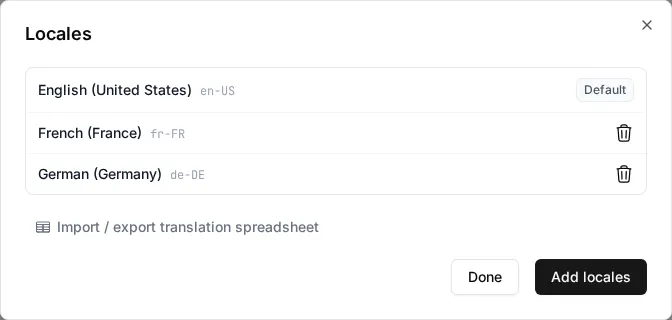
In the toolbar above the preview, click the globe icon (Locales).
-
Click Add locales.
-
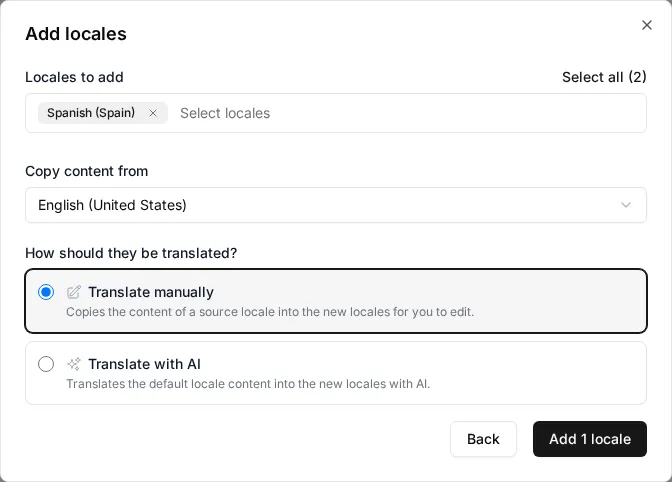
Under Locales to add, select one or more locales. To add every enabled locale the email doesn’t have yet, click Select all.
-
Under How should they be translated?, choose an option:
- Translate manually: copies content from another locale into the new locales, for you to translate yourself. In Copy content from, select the locale to copy.
- Translate with AI: translates the default locale’s content into the new locales.
-
Click Add locales. The button shows how many locales you’re adding, e.g. Add 1 locale.
If you chose Translate manually, the locales are added straight away. Switch to each one and replace the copied content with your translations.
If you chose Translate with AI, the Locales panel shows the progress of each locale. Editing is locked until the translation finishes. You can close the panel and come back to it by clicking Translation in progress in the toolbar. To stop the translation, click Cancel translation.
Review each locale
Section titled “Review each locale”-
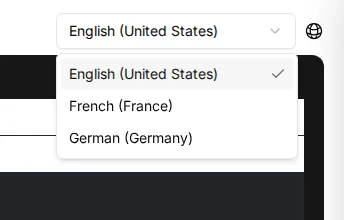
In the toolbar above the preview, open the locale dropdown and select a locale.
-
Check the subject line, preheader and content in the preview.
-
Edit any fields that need changing. Changes to field content only apply to the selected locale.
-
Repeat for each locale.
Remove a locale
Section titled “Remove a locale”- In the toolbar above the preview, click the globe icon (Locales).
- Next to the locale, click the bin icon (Remove locale).
- Click Remove locale to confirm.
You can’t remove the email’s default locale.