

Account settings
This article shows you how to change your own account settings, including which email notifications you receive.
Your account settings only affect you. Every user can change their own.
Open your account settings
Section titled “Open your account settings”- In the bottom-left of the sidebar, click your name.
- Select Account.
Make your changes, then click Save Changes at the bottom of the page.
Change your profile
Section titled “Change your profile”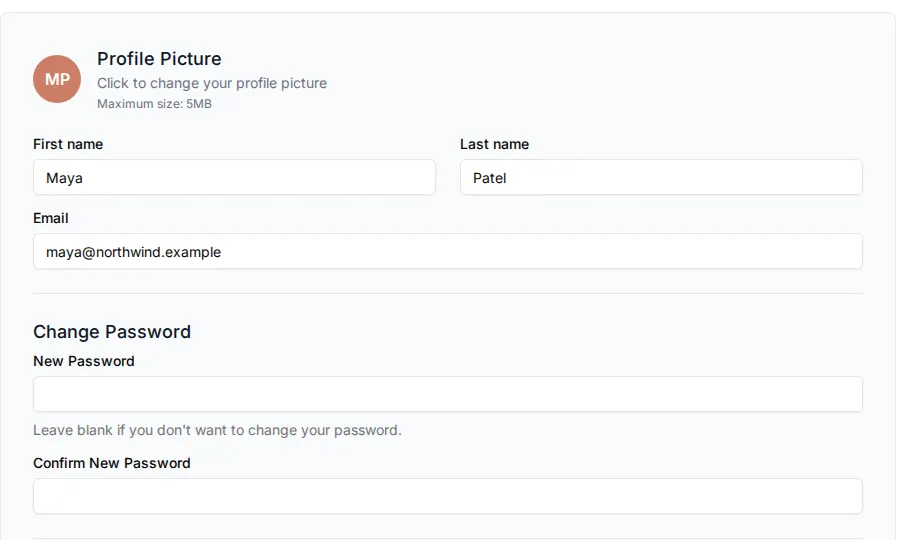
- Profile picture: click your profile picture and choose an image of up to 5MB.
- First name and Last name: the name other people see in EmailShepherd.
- Email: the email address you sign in with.
Change your password
Section titled “Change your password”- In New Password, enter your new password.
- In Confirm New Password, enter it again.
- Click Save Changes.
- Enter your current password, then click Confirm.
Turn on two-factor authentication
Section titled “Turn on two-factor authentication”Two-factor authentication (2FA) means that you sign in with a code from an authenticator app, such as Google Authenticator or Authy, as well as your password.
- Turn on Enable Two-Factor Authentication.
- Click Save Changes.
You’re logged out straight away and asked to set up 2FA when you sign back in.
If your organization requires 2FA for everyone, you can’t turn it off. See Security settings.
Choose your email notifications
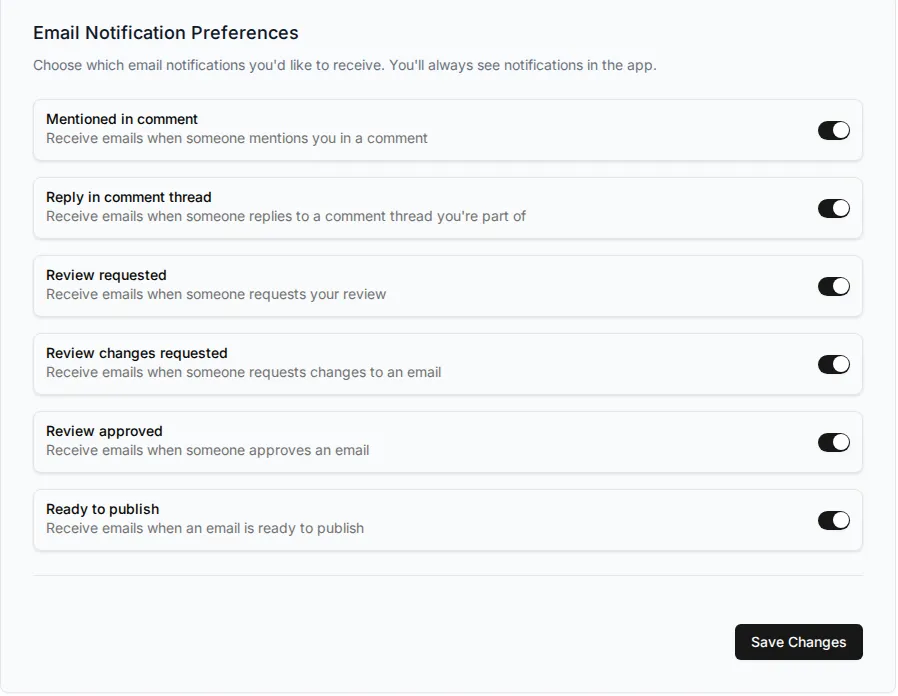
Section titled “Choose your email notifications”EmailShepherd emails you about activity that involves you. In Email Notification Preferences, turn off any you don’t want:
- Mentioned in comment: someone mentions you in a comment.
- Reply in comment thread: someone replies to a comment thread you’re part of.
- Review requested: someone requests your review.
- Review changes requested: someone requests changes to an email.
- Review approved: someone approves an email.
- Ready to publish: an email is ready to publish.
You’ll still see every notification in the app under Notifications, whatever you choose here.
To also get product updates and news from EmailShepherd, turn on the setting under Marketing.