

How to organize emails with folders
This article shows you how to use folders to keep the emails in a project organized.
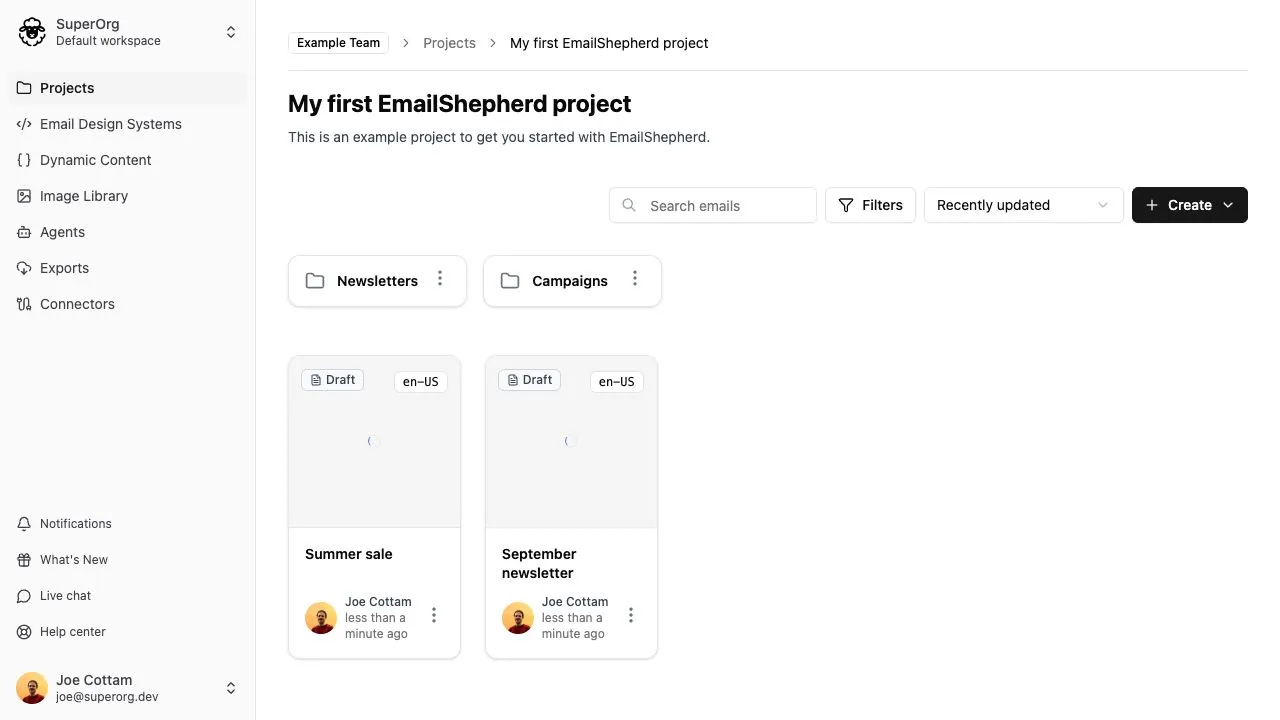
Folders sit inside a project and can contain both emails and other folders. They’re useful when a project holds several campaigns, regions or types of email, and you want to group them.
Before you begin
Section titled “Before you begin”Folders have a few limits:
- Folders can be nested up to three levels deep.
- You can create up to 20 folders at each level.
- Folder names can be up to 50 characters long.
- Folders at the same level must have different names.
Create a folder
Section titled “Create a folder”- Open the project where you want to add the folder. To create the folder inside another folder, open that folder.
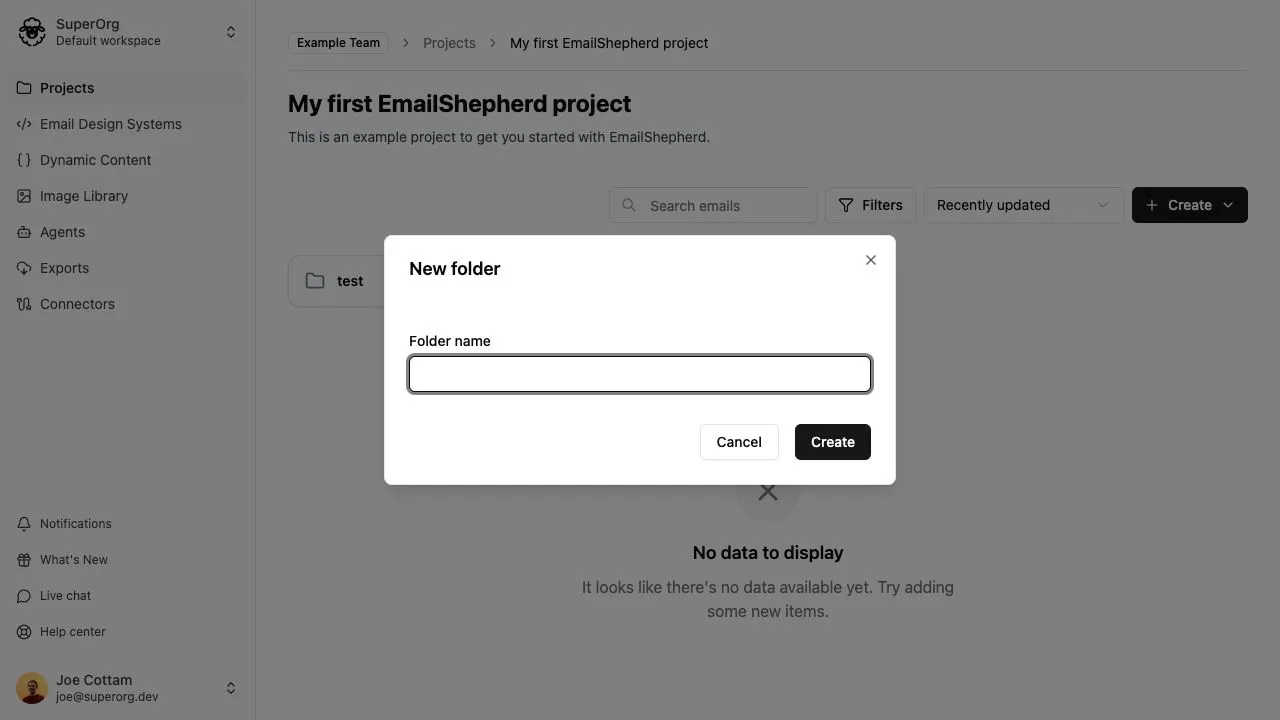
- Click Create, then select Folder.
- In Folder name, enter a name for the folder.
- Click Create.
Open a folder
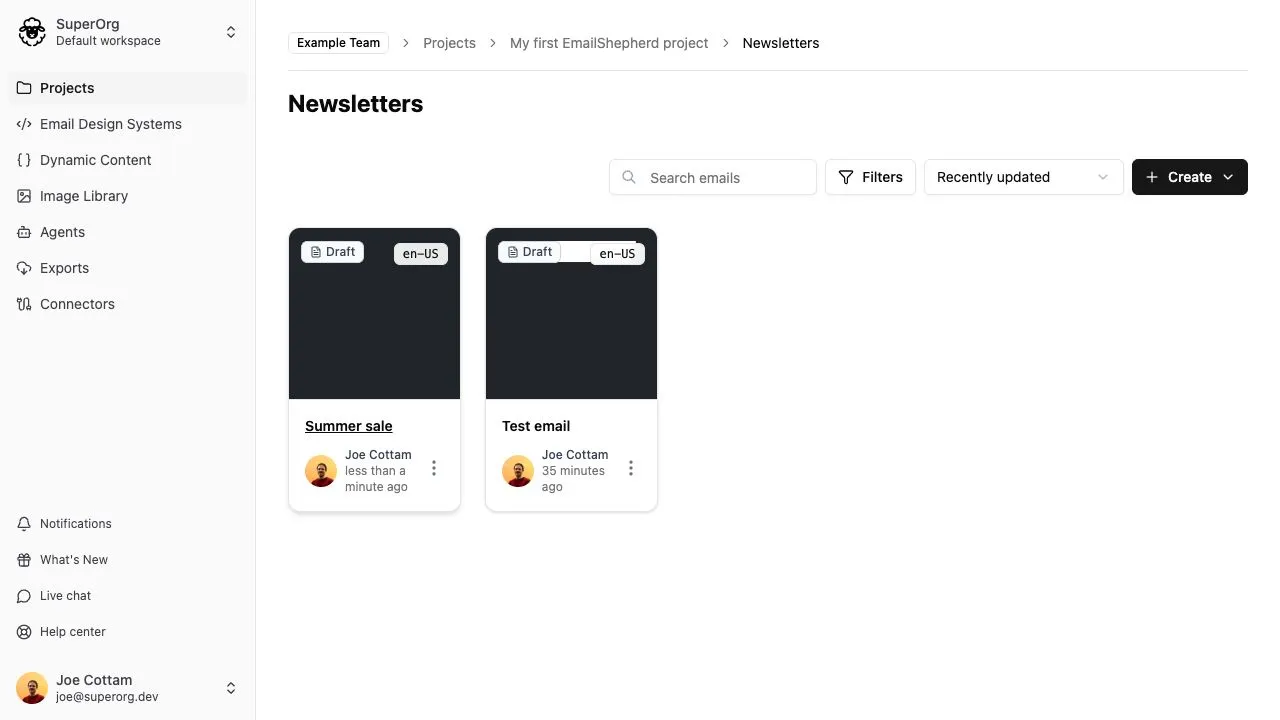
Section titled “Open a folder”Click a folder to open it. The breadcrumb trail at the top of the page shows where you are. Click any folder or the project name in the breadcrumb trail to go back to it.
Move an email into a folder
Section titled “Move an email into a folder”- Find the email and the folder you want to move it to.
- Drag the email card onto the folder card.
- Release the email when the folder is highlighted.
You can also move an email without dragging it:
- Click the email’s More menu (the three dots).
- Select Move.
- Choose the folder you want to move the email to.
- Click Move.
Move a folder into another folder
Section titled “Move a folder into another folder”- Drag the folder card onto the folder you want to move it to.
- Release it when the destination folder is highlighted.
The folder moves along with everything inside it.
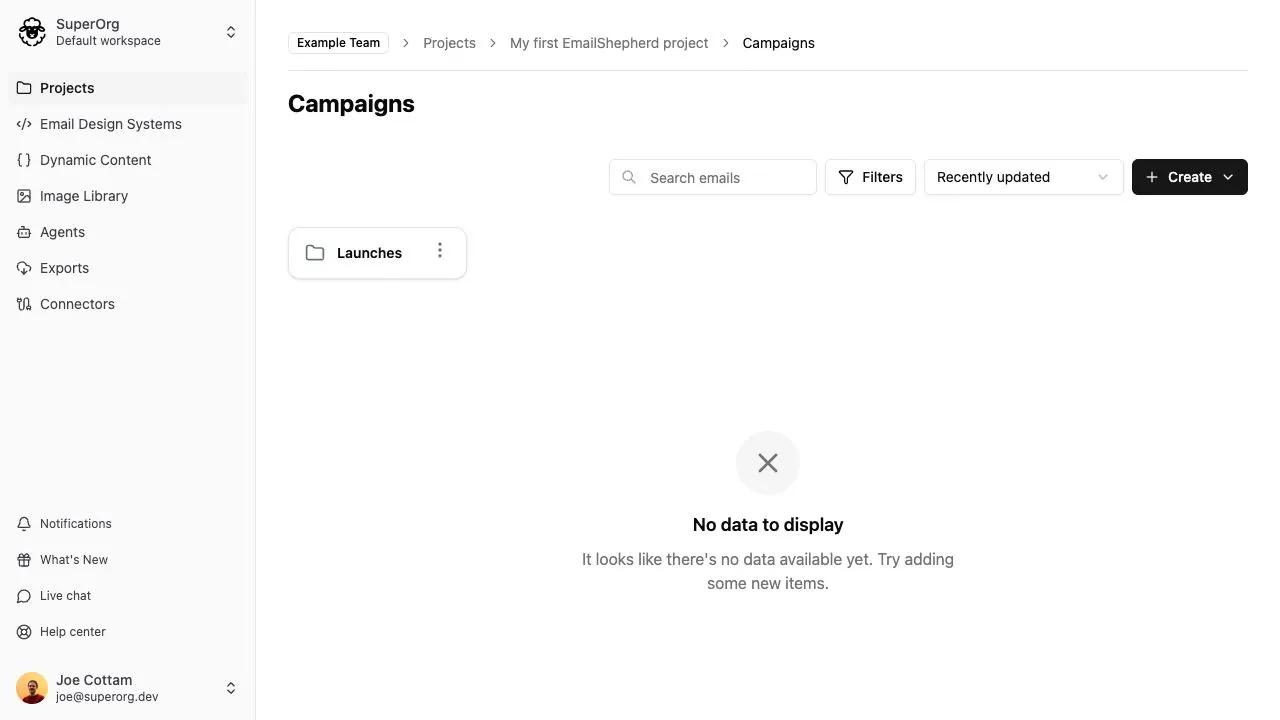
You can also click the folder’s More menu, select Move, choose the destination, then click Move.
Move an email or folder out of a folder
Section titled “Move an email or folder out of a folder”- Click the email’s or folder’s More menu.
- Select Move.
- In the destination picker, select the project name.
- Click Move.
Rename a folder
Section titled “Rename a folder”- Click the folder’s More menu.
- Select Rename.
- In Folder name, enter the new name.
- Click Save.
Delete a folder
Section titled “Delete a folder”You can only delete an empty folder. Move or delete everything inside it first.
- Click the folder’s More menu.
- Select Delete.
- Click Delete to confirm.