

How to export an email as HTML
This article shows you how to export an email as HTML.
Export as HTML when you want to paste or upload the email into a tool that EmailShepherd doesn’t connect to. To send an email straight to your ESP instead, see How to export an email to your ESP.
Before you begin
Section titled “Before you begin”The email must be published. See How to publish an email.
Export an email as HTML
Section titled “Export an email as HTML”- Open the email in the editor.
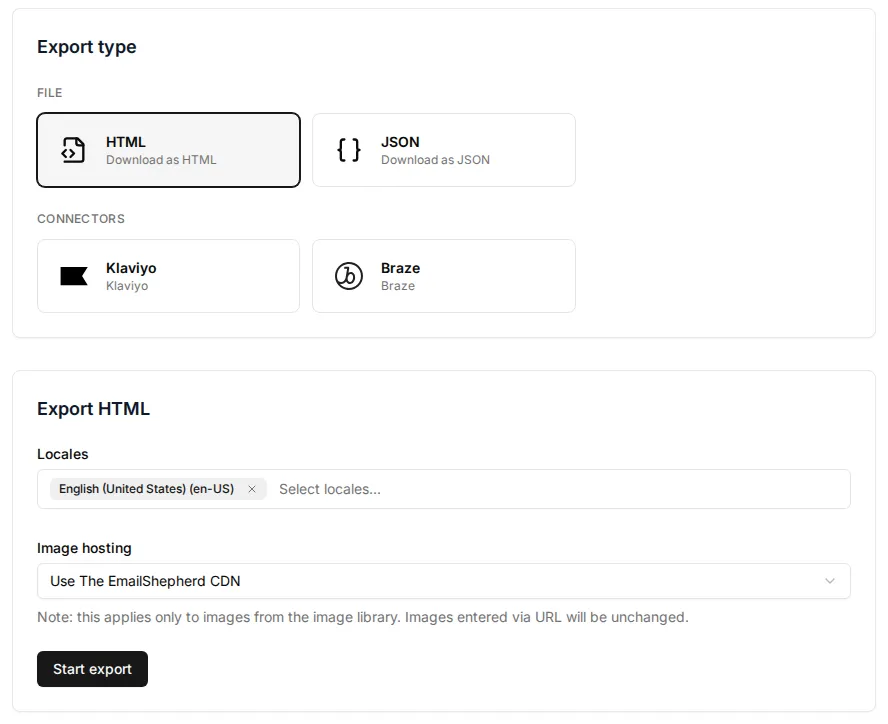
- In the top-right corner, click Export.
- Under File, select HTML.
- In Locales, select the locales to export.
- Choose any other options you need:
- Dynamic Content Profile: the dynamic content profile to export with, so personalization tags and conditionals use your ESP’s syntax.
- Image hosting: where images from the image library are hosted. Images you added by URL aren’t changed.
- Use The EmailShepherd CDN: the email links to images hosted by EmailShepherd.
- Include in zip: the images are downloaded in the ZIP along with the HTML, so you can host them yourself.
- Use a CDN Connector: the images are uploaded to your own CDN, and the email links to them there. Then, in CDN Connector, select the connector. You need a CDN connector set up first.
- Minify HTML: makes the exported HTML smaller. See How to minify exported HTML.
- Inline CSS: applies CSS from style blocks to individual elements. See How to inline CSS in exports.
- Click Start export.
Get the HTML
Section titled “Get the HTML”The export takes a few seconds. When it’s complete, either:
- click Download ZIP to download the HTML for every locale, or
- click Copy HTML to clipboard to copy one locale’s HTML.
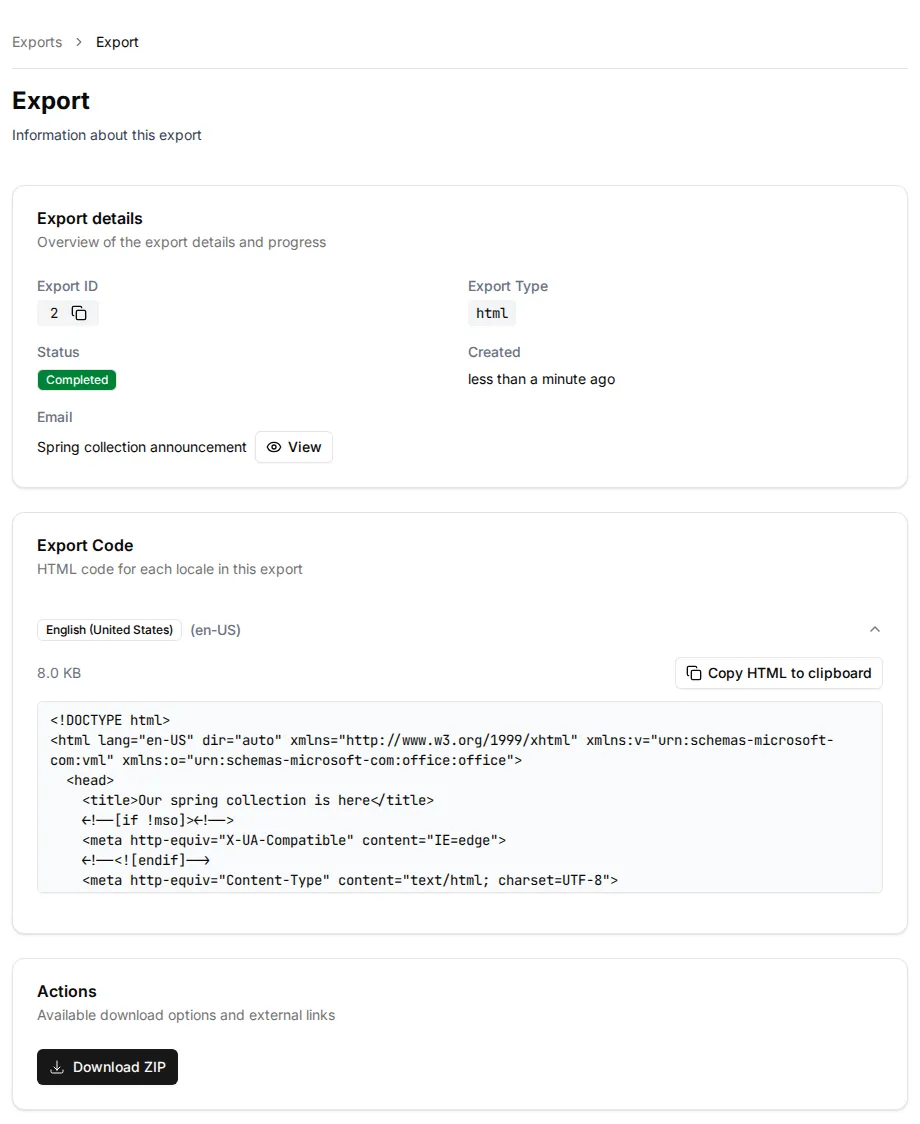
To find the export again later, click Exports in the sidebar.